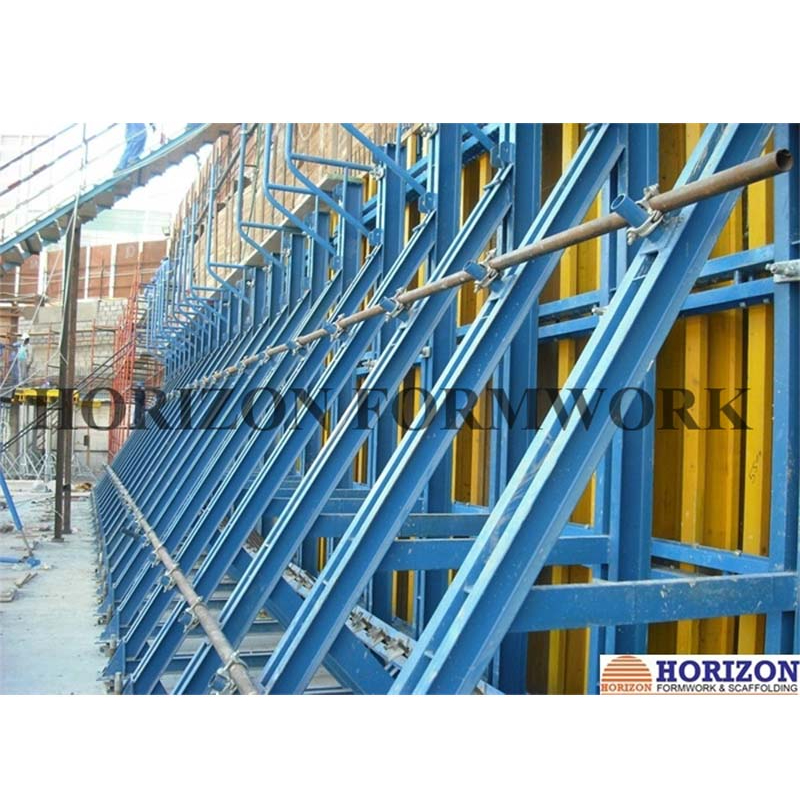
Перастаўная апалубка CB240
Апісанні
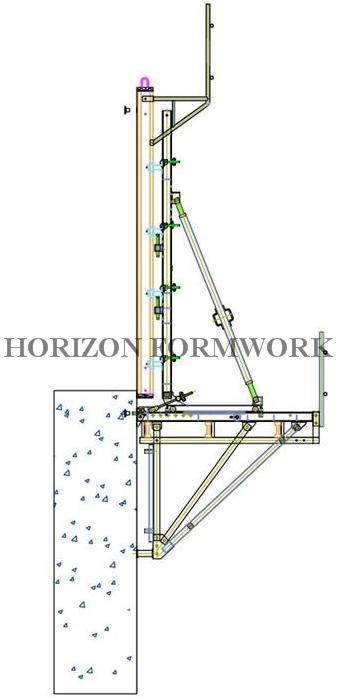
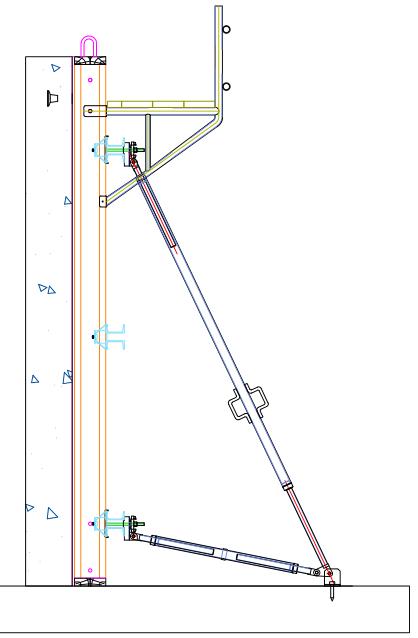
Platform width: 2.4m
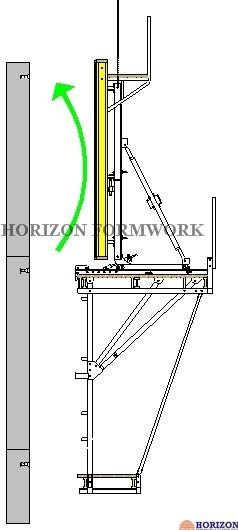
Roll-back system: 70 cm with carriage and rack system
Finishing platform: for removing the climbing cone, polishing concrete surface etc.
Anchor system: should be pre-fixed into the formwork and left in the concrete after pouring.
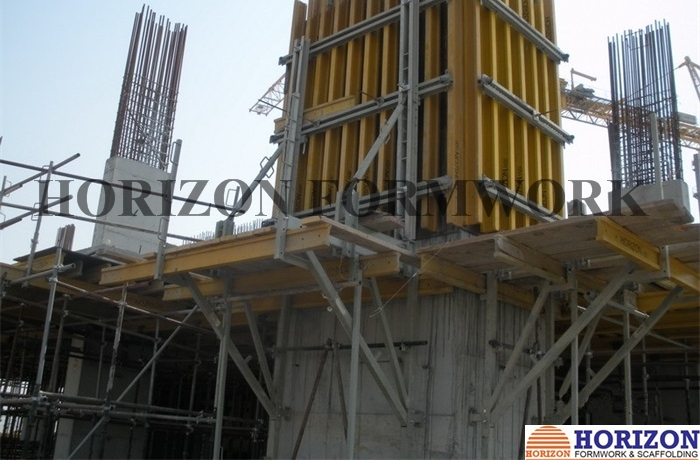
Formwork: can be moved horizontally, vertically and tilted to meet site requirement.
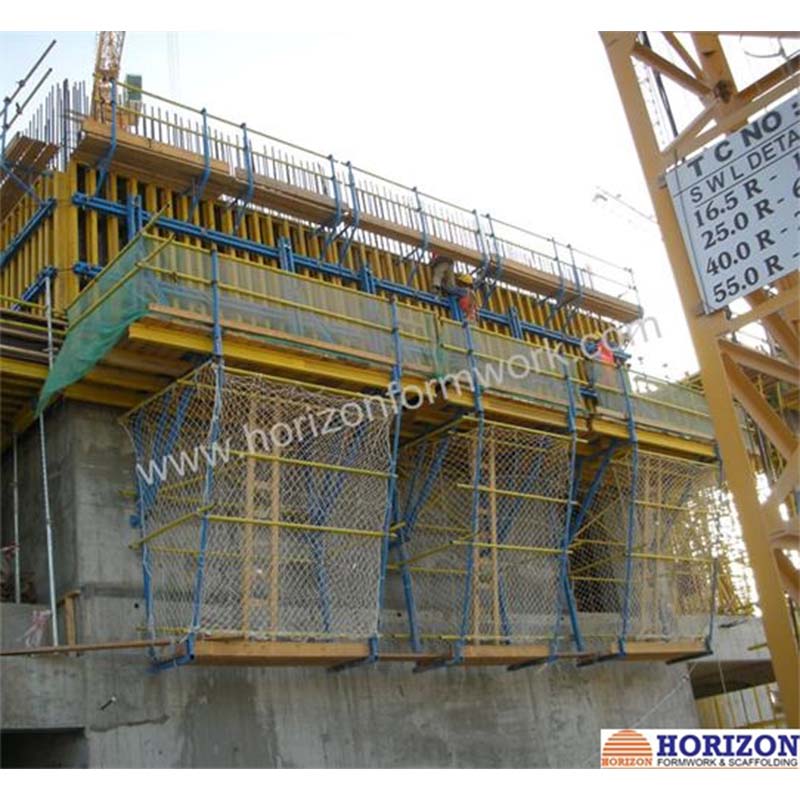
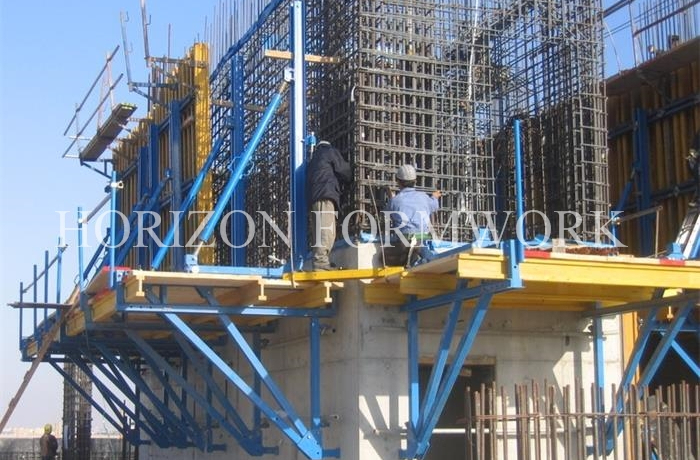
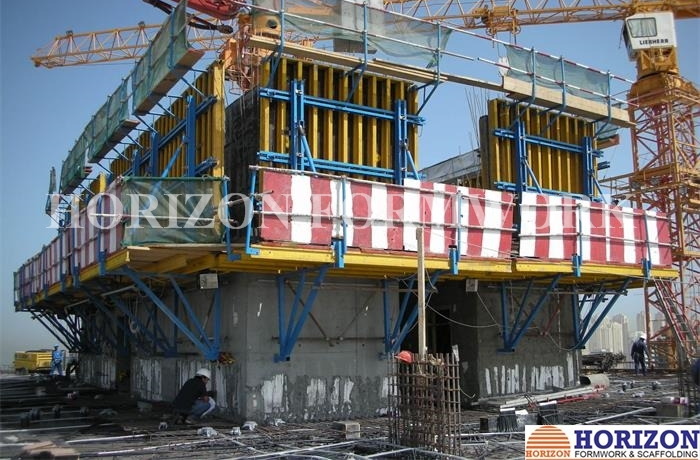
Main platform: provide workers a safe working platform
Finishing platform: there is an access to the main platform by using a safety ladder.
Перавагі
- Сумяшчальны з усімі сценавымі апалубкамі Construction.
- Камплекты, якія складаюцца з кранштэйнаў і панэляў апалубкі, перамяшчаюцца на наступны этап залівання з дапамогай аднаго крана.
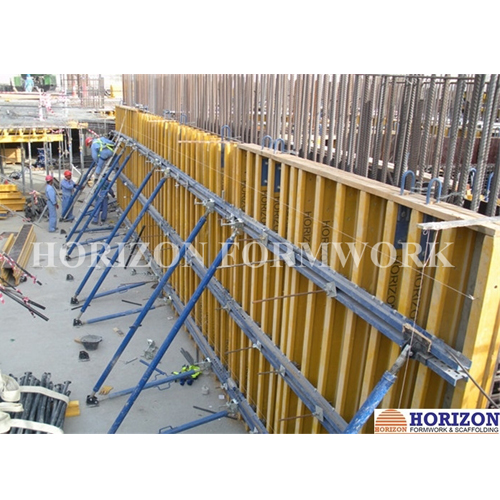
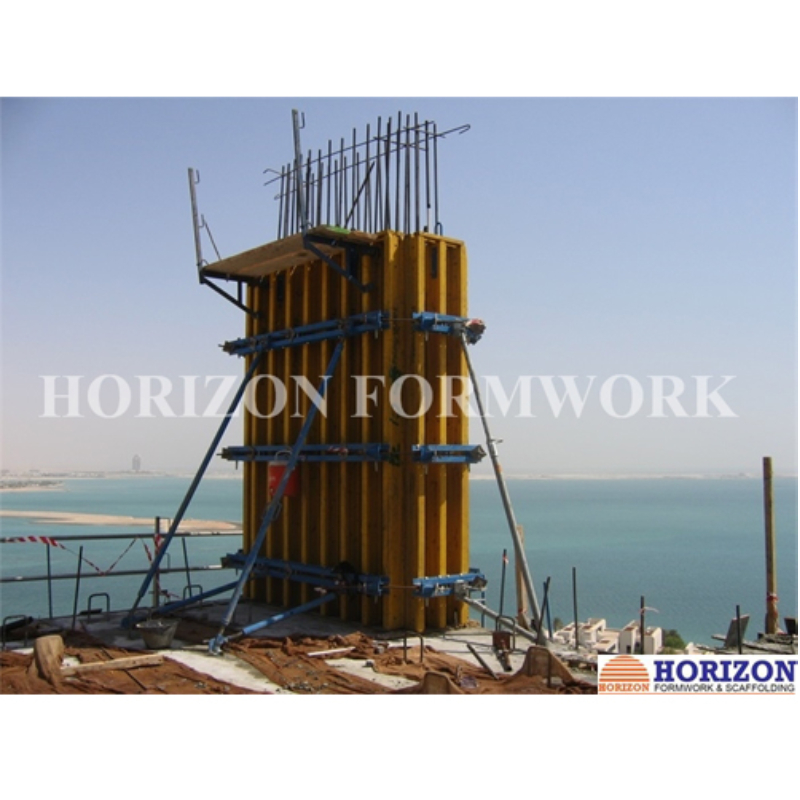
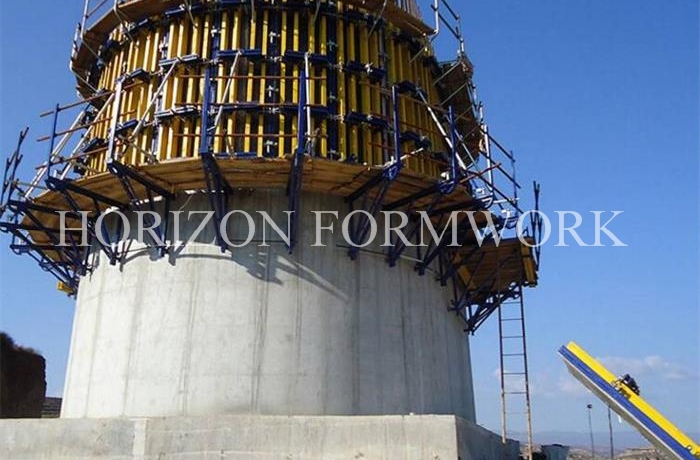
- Адаптуецца да любых канструкцый, уключаючы прамыя, нахільныя і круглыя сцены.
- Можна пабудаваць працоўныя платформы на розных узроўнях. Доступ да платформ забяспечваецца па ахоўных лесвіцах.
- Усе кранштэйны ўключаюць у сябе ўсе раздымы для фіксацыі поручняў, штуршкоў і іншых аксесуараў.
- Пад'ёмныя кранштэйны дазваляюць адкатваць панэлі апалубкі з дапамогай сістэмы, утворанай карэткай і стойкай, убудаванай у гэтыя кранштэйны.
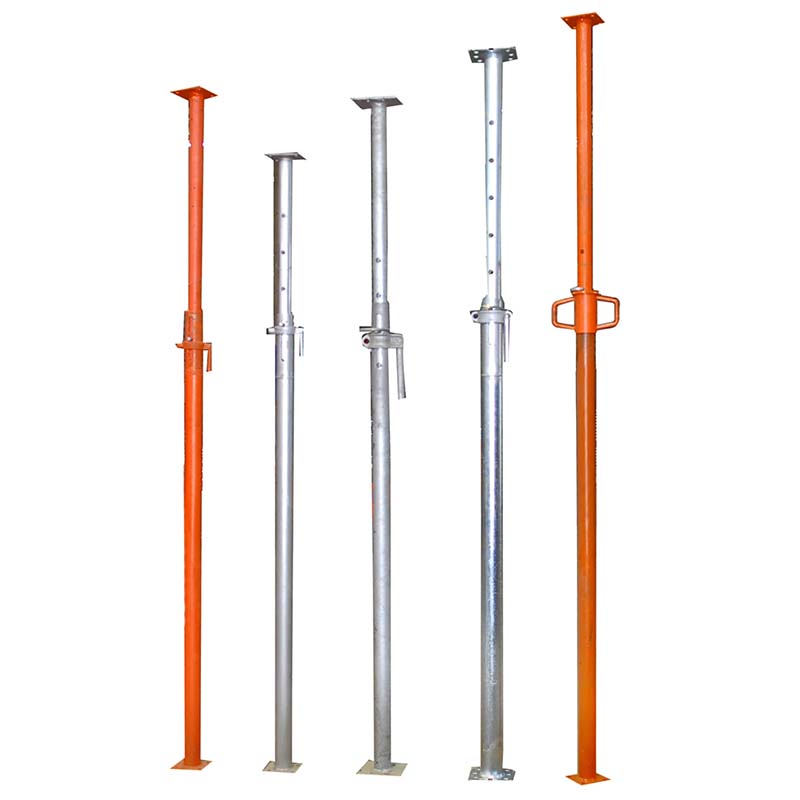
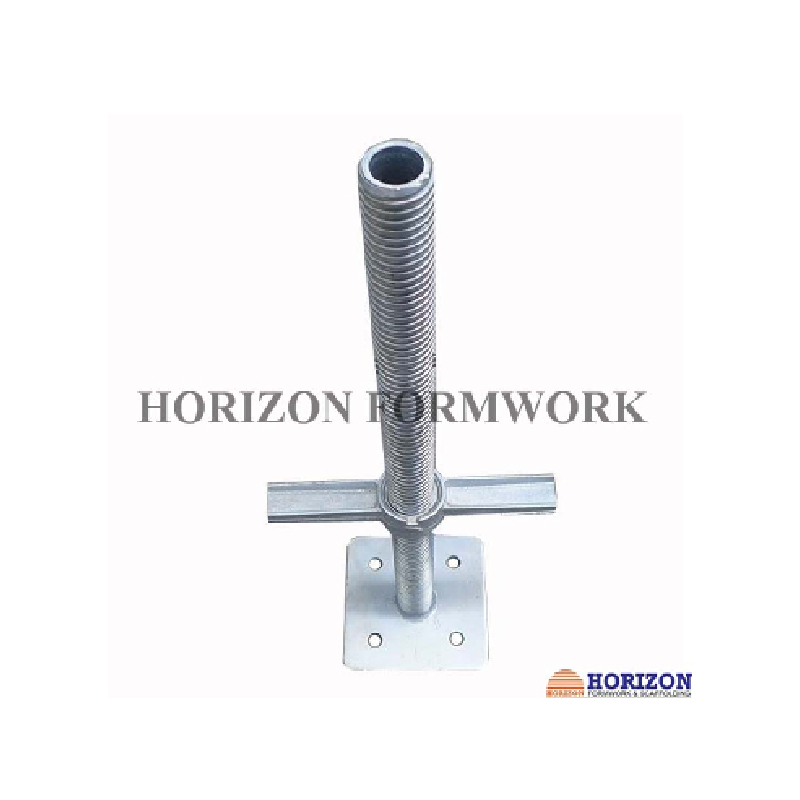
- Formwork’s vertical adjusting and plumbing is completedwithleveling screw jacks and push-pull props.
- Кранштэйны мацуюцца да сцяны анкернай конуснай сістэмай.
Працэдура ўзыходжання
|
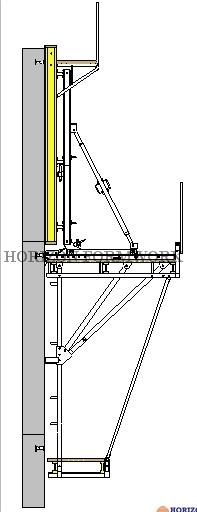
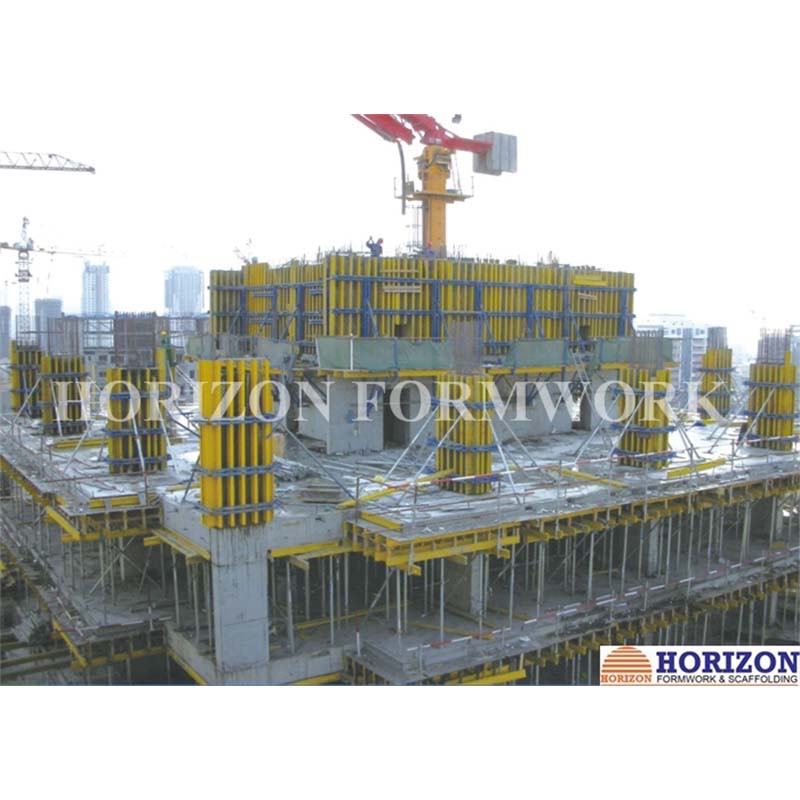
The first pouring is to be completed by using the proper wall elements and has to be exactly выраўнаваны рэгулявальнымі стойкамі. |
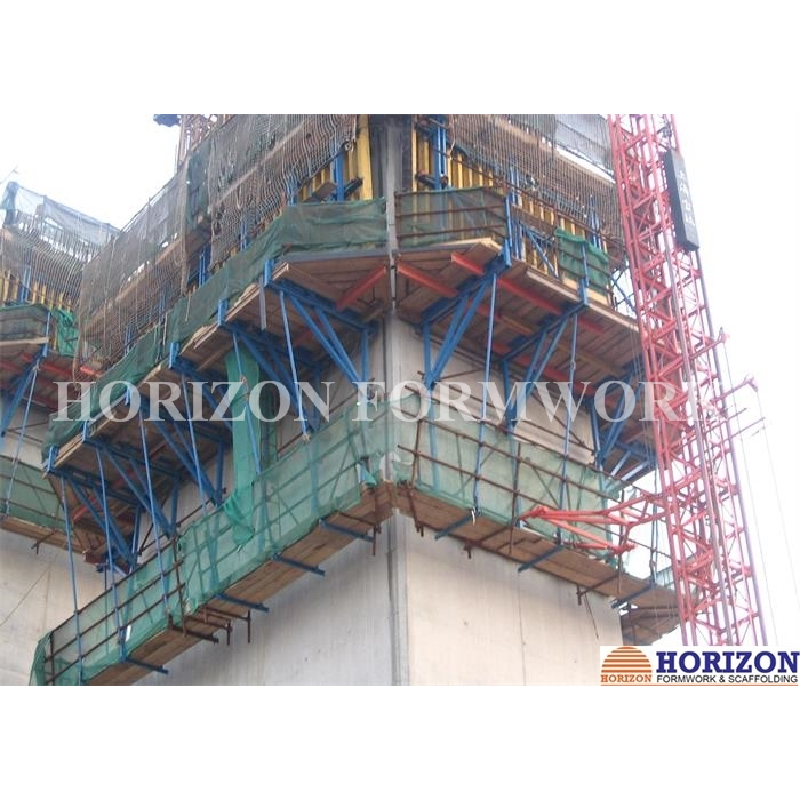
Крок 2 The completely pre-assembled climbing scaffold units consisting of climbing brackets with plank bottom and bracing have to be attached to the bracket anchoring and secured. Then the formwork and the move-off carriage together with the aligning beam has to be positioned on the brackets and fixed. |
|
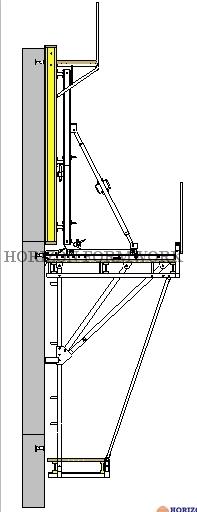
Крок 3 After shifting the climbing scaffold unit to the next pouring position the finishing platform is to be mounted to the brackets to complete the climbing system. |
Крок 4 Release and remove bolts that fixing the positioning anchor point. Паслабце і зніміце сцяжку Loosen the wedges of the carriage unit. |
|
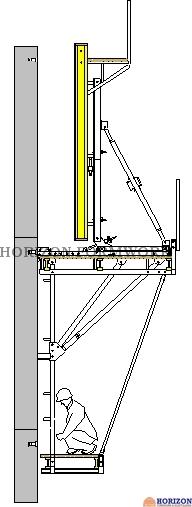
Крок 5 Retract the carriage and lock it with wedge. Усталюйце верхнія конусы Паслабце прыладу ветрозащиты, калі такая маецца Зніміце ніжні конус для ўзыходжання
|
Крок 6 Adjust the carriage into the common center of gravity and lock it again. Замацуеце стропы крана на вертыкальным брусе Зніміце ахоўныя балты кранштэйна Lift the climbing bracket by crane and attach it to the next prepared climbing cone. Зноў устаўце і зафіксуйце засаўкі бяспекі. Пры неабходнасці ўсталюйце прыладу для абароны ад ветру. |
|
Крок 7 Move the carriage back and lock it by wedge. Ачысціць апалубку. Усталюйце стрыжні арматуры. |
Крок 8 Move the formwork forward until lower end rests against top of the finished section of the wall Адрэгулюйце апалубку па вертыкалі з дапамогай распоркі. Замацуеце сцяжкі для апалубкі сцен |

 Крок 1