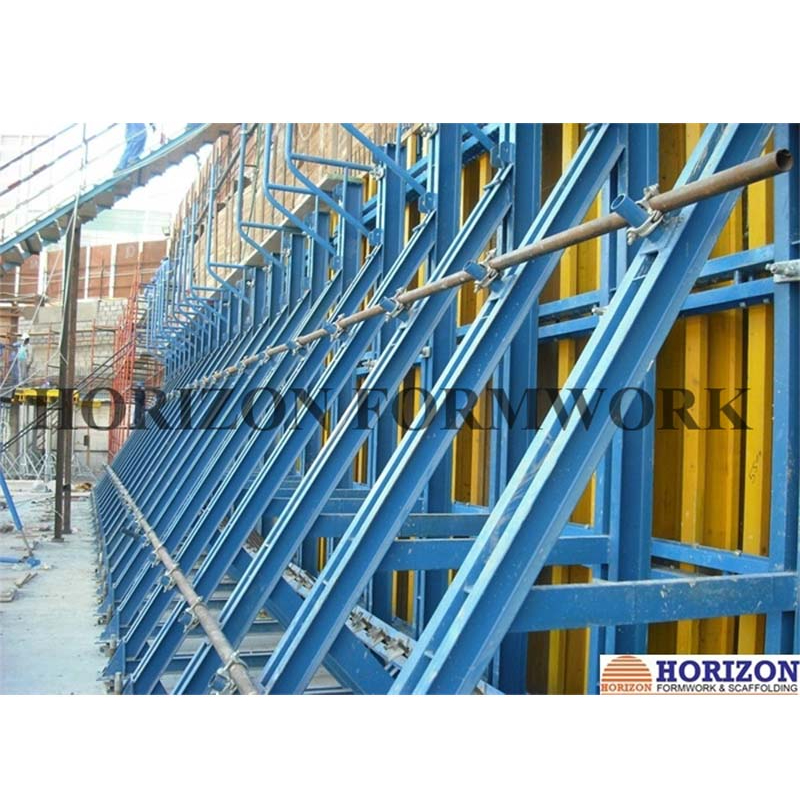
ასვლა ფორმული CB240
აღწერილობები
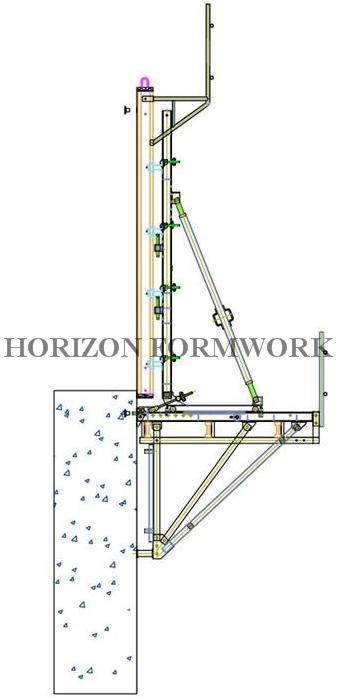
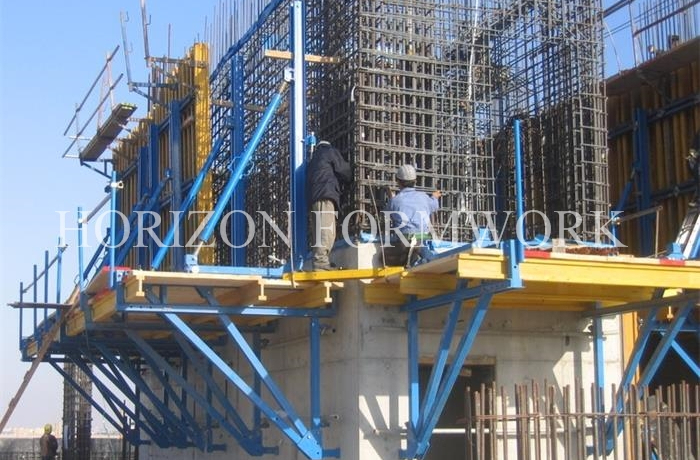
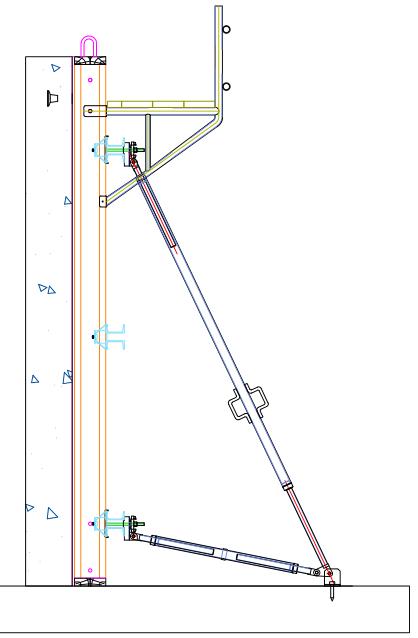
Platform width: 2.4m
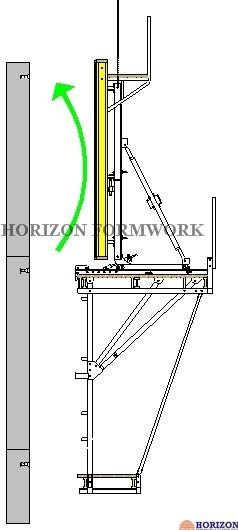
Roll-back system: 70 cm with carriage and rack system
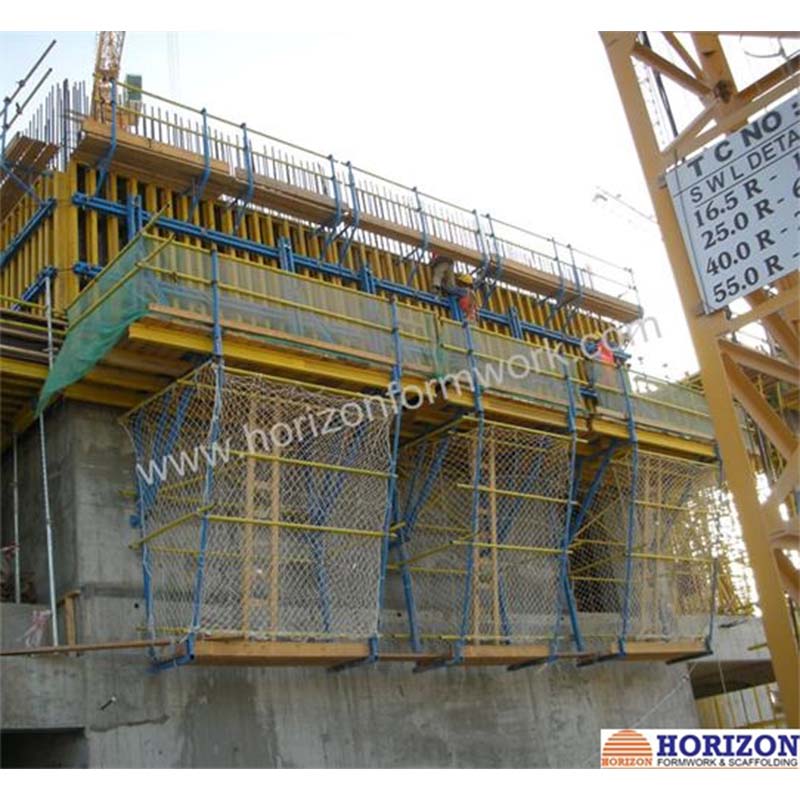
Finishing platform: for removing the climbing cone, polishing concrete surface etc.
Anchor system: should be pre-fixed into the formwork and left in the concrete after pouring.
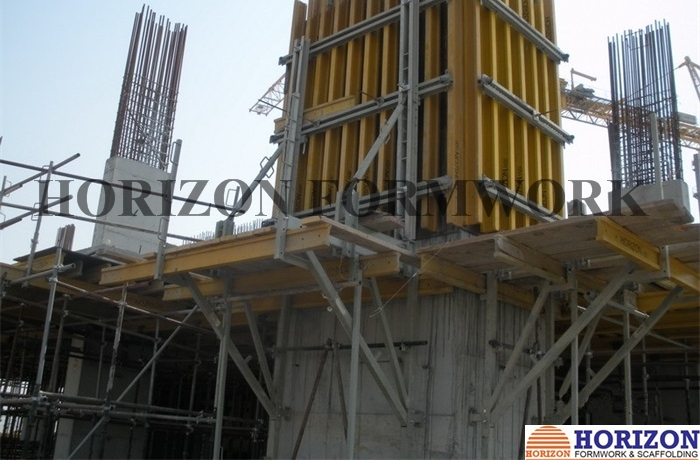
Formwork: can be moved horizontally, vertically and tilted to meet site requirement.
Main platform: provide workers a safe working platform
Finishing platform: there is an access to the main platform by using a safety ladder.
უპირატესობები
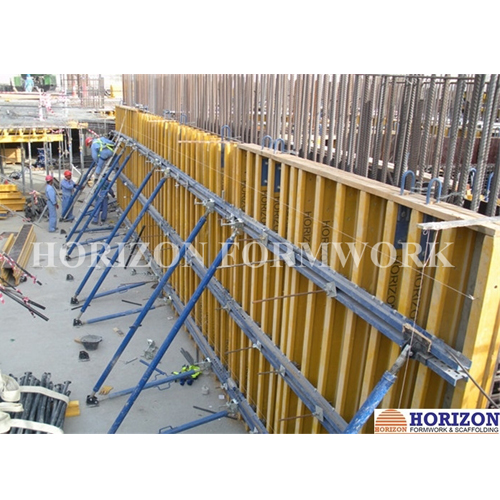
- თავსებადია ყველა სამშენებლო კედლის ფორმულასთან.
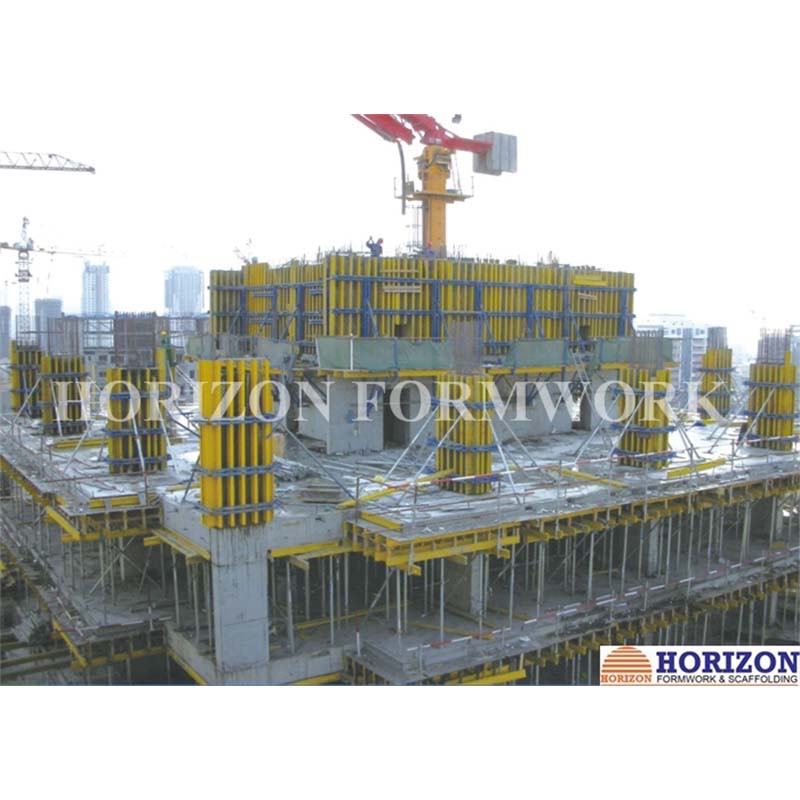
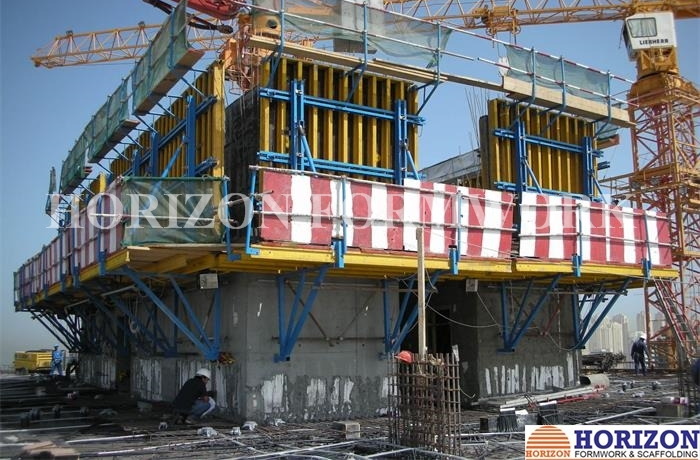
- ფრჩხილებისა და ფორმულის პანელებისგან შემდგარი კომპლექტები გადაინაცვლებს ჩამოსხმის შემდეგ საფეხურზე ერთი ამწის ამწევით.
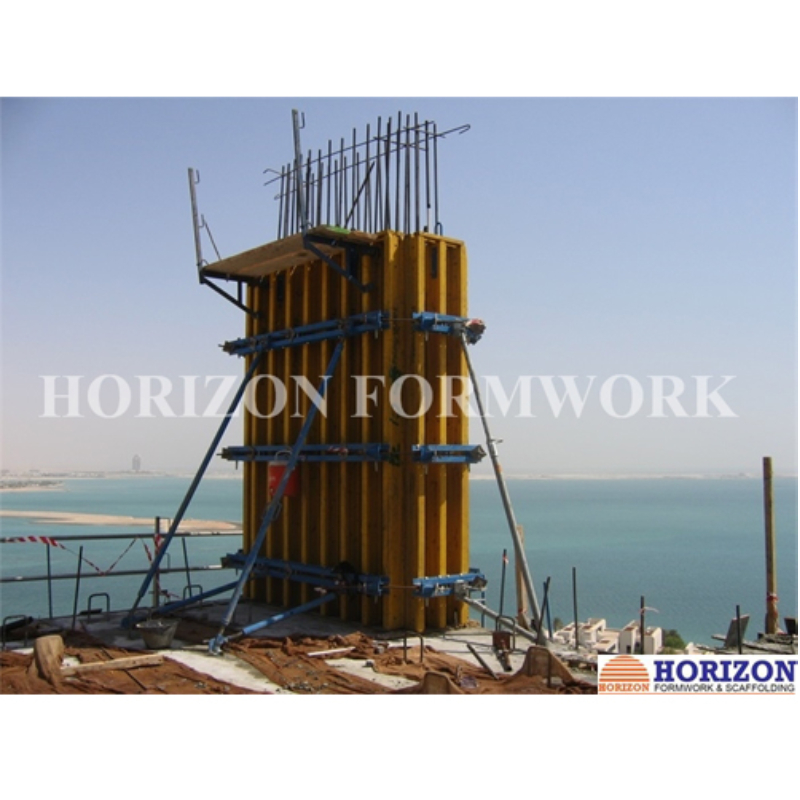
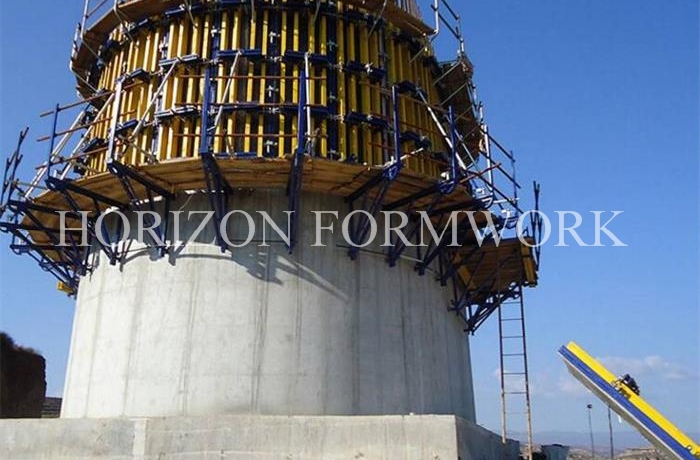
- ადაპტირებულია ნებისმიერ სტრუქტურაზე, მათ შორის სწორი, დახრილი და წრიული კედლები.
- შესაძლებელია სამუშაო პლატფორმების აგება სხვადასხვა დონეზე. პლატფორმაზე წვდომა უზრუნველყოფილია უსაფრთხოების კიბეებით.
- ყველა სამაგრი მოყვება ყველა კონექტორს ხელსახოცების დასამაგრებლად, დასამაგრებელი სამაგრები და სხვა აქსესუარები.
- ასასვლელი ფრჩხილები იძლევა ფორმულის პანელის უკან დაბრუნების საშუალებას, რომელიც იყენებს სისტემას, რომელიც ჩამოყალიბებულია ამ ფრჩხილებში ჩართული ვაგონით და თაროებით.
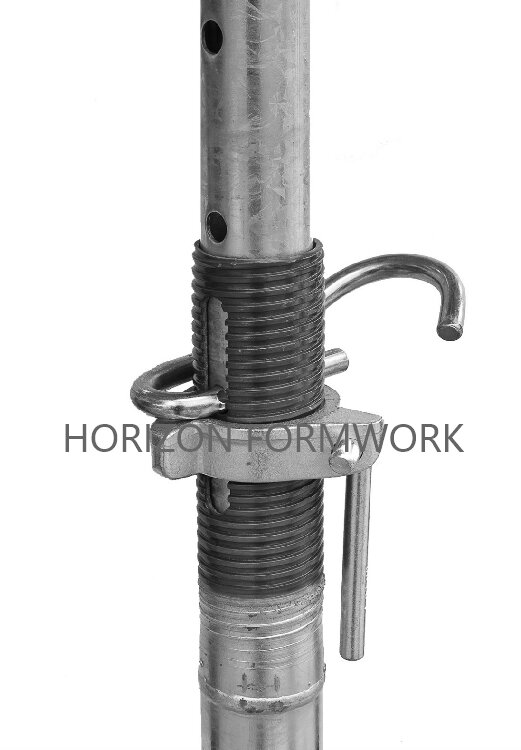
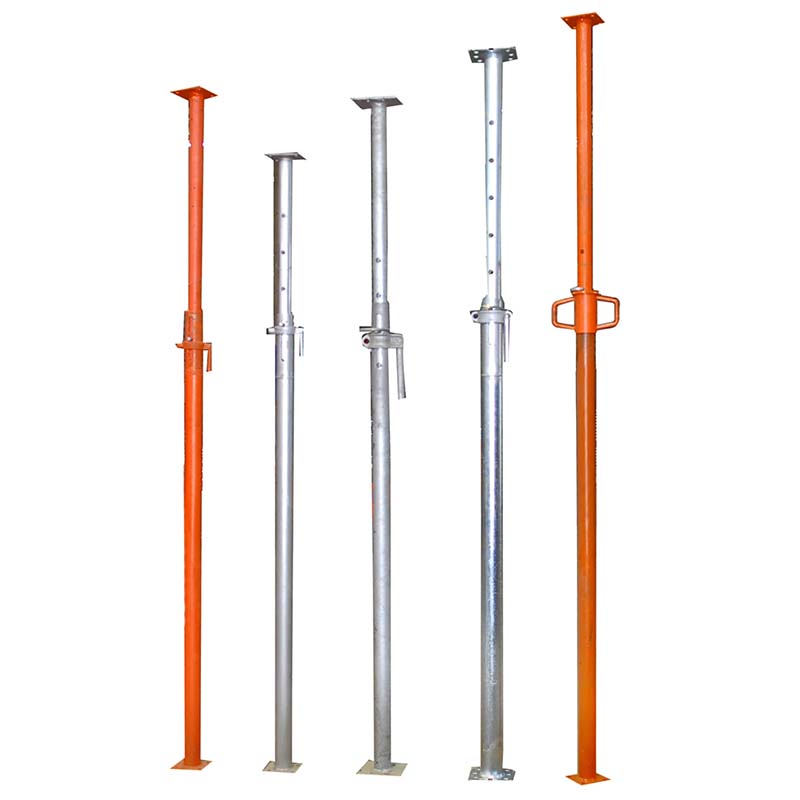
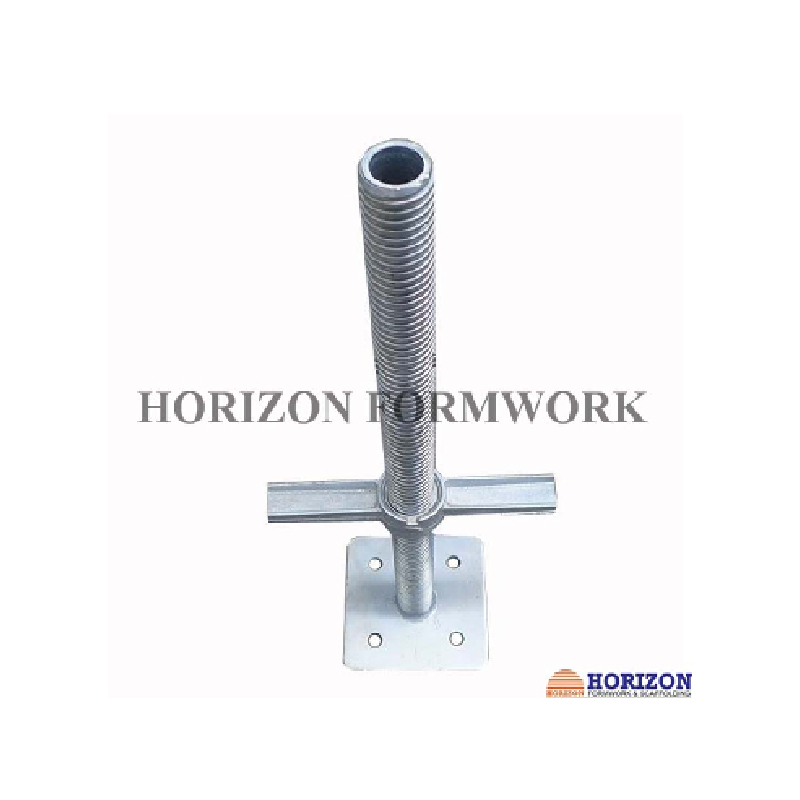
- Formwork’s vertical adjusting and plumbing is completedwithleveling screw jacks and push-pull props.
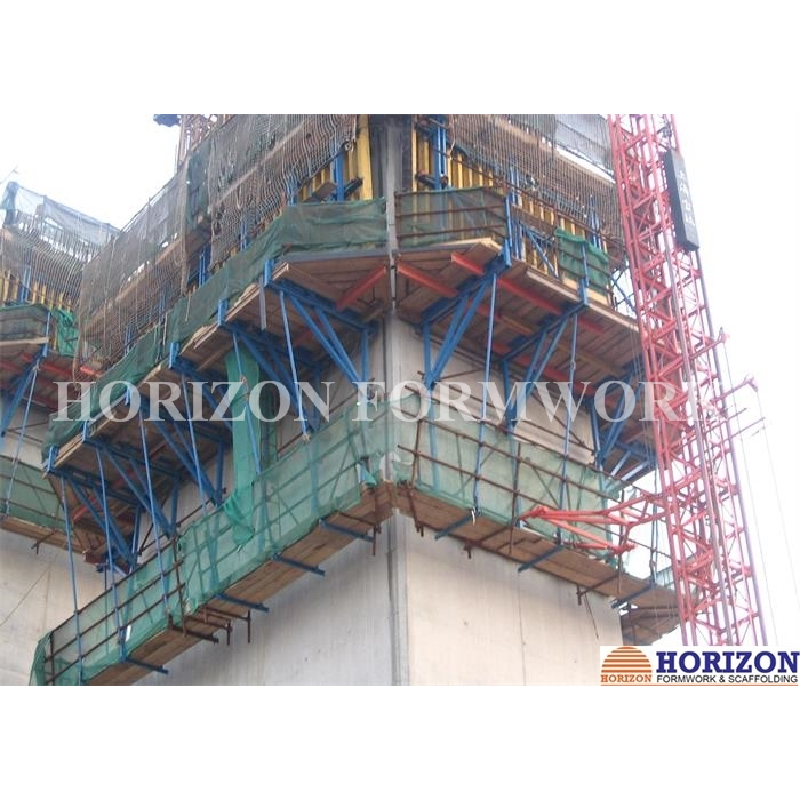
- ფრჩხილები მიმაგრებულია კედელზე წამყვანის კონუსის სისტემით.
ასვლის პროცედურა
|
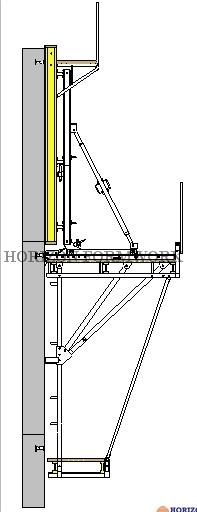
The first pouring is to be completed by using the proper wall elements and has to be exactly გასწორებულია რეგულირებადი საყრდენებით. |
ნაბიჯი 2 The completely pre-assembled climbing scaffold units consisting of climbing brackets with plank bottom and bracing have to be attached to the bracket anchoring and secured. Then the formwork and the move-off carriage together with the aligning beam has to be positioned on the brackets and fixed. |
|
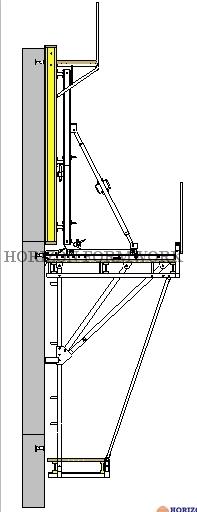
ნაბიჯი 3 After shifting the climbing scaffold unit to the next pouring position the finishing platform is to be mounted to the brackets to complete the climbing system. |
ნაბიჯი 4 Release and remove bolts that fixing the positioning anchor point. გაათავისუფლეთ და ამოიღეთ ჰალსტუხი Loosen the wedges of the carriage unit. |
|
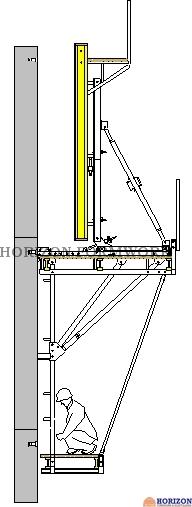
ნაბიჯი 5 Retract the carriage and lock it with wedge. დააინსტალირეთ ზედა ასვლა კონუსები გაათავისუფლეთ ქარის დამცავი მოწყობილობა, ასეთის არსებობის შემთხვევაში ამოიღეთ ქვედა ასვლა კონუსი
|
ნაბიჯი 6 Adjust the carriage into the common center of gravity and lock it again. მიამაგრეთ ამწის სამაგრი ვერტიკალურ ბორცვზე ამოიღეთ სამაგრის უსაფრთხოების ჭანჭიკები Lift the climbing bracket by crane and attach it to the next prepared climbing cone. ისევ ჩადეთ და ჩაკეტეთ უსაფრთხოების ჭანჭიკები. საჭიროების შემთხვევაში დააინსტალირეთ ქარის დატვირთვის მოწყობილობა. |
|
ნაბიჯი 7 Move the carriage back and lock it by wedge. გაასუფთავეთ ყალიბი. დააინსტალირეთ გამაგრების ზოლები. |
ნაბიჯი 8 Move the formwork forward until lower end rests against top of the finished section of the wall ფორმულის მორგება ვერტიკალურად ბიძგ-გაყვანის სამაგრის საშუალებით. დააფიქსირეთ ღეროები კედლის ყალიბისთვის |

 Ნაბიჯი 1