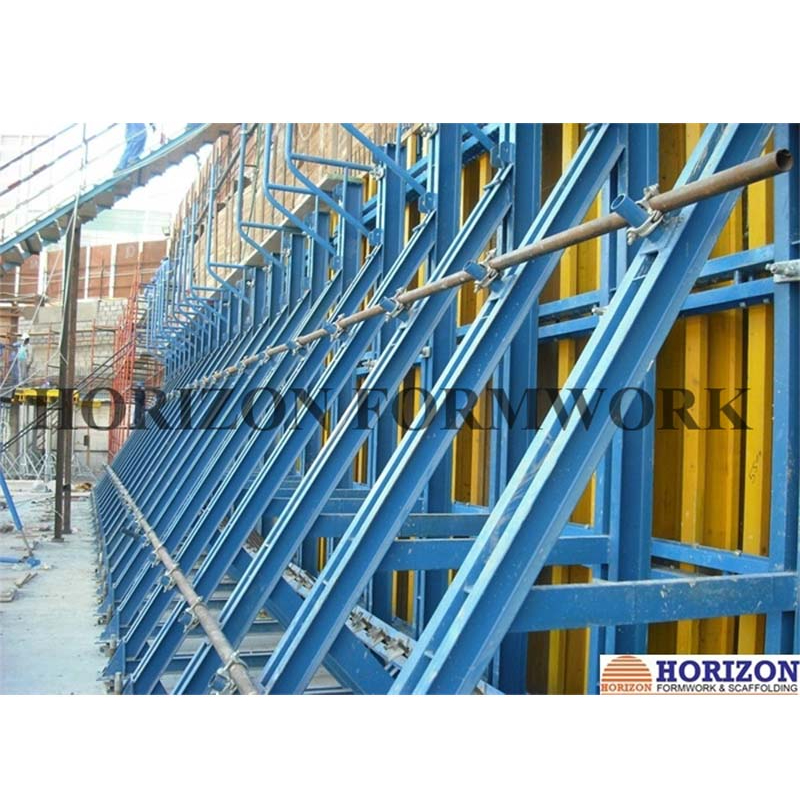
Подъёмно-переставная опалубка CB240
Описания
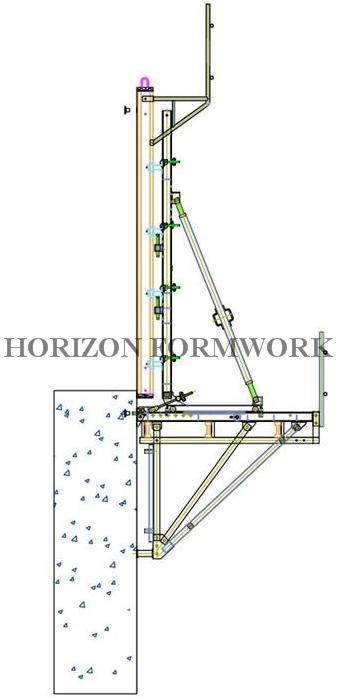
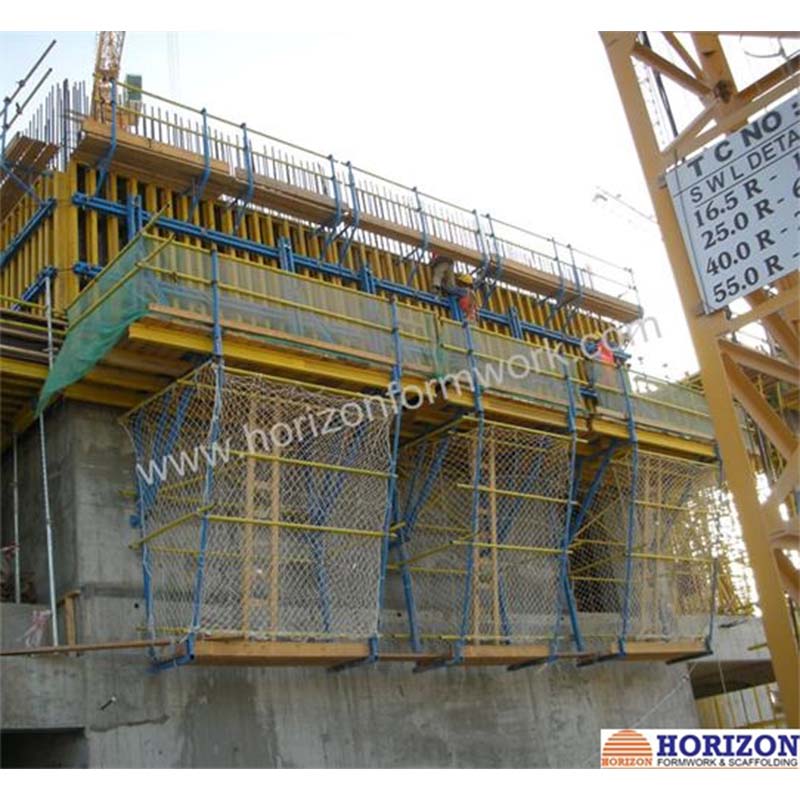
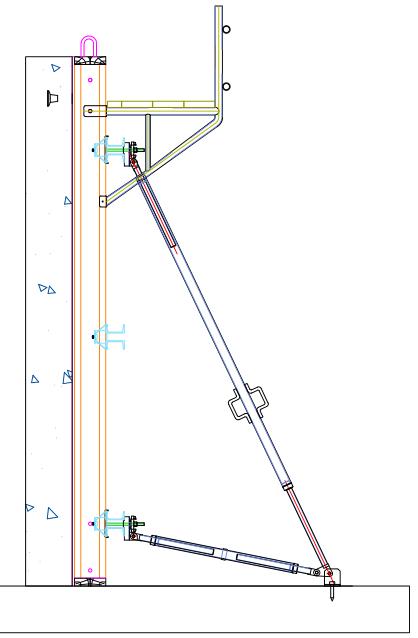
Platform width: 2.4m
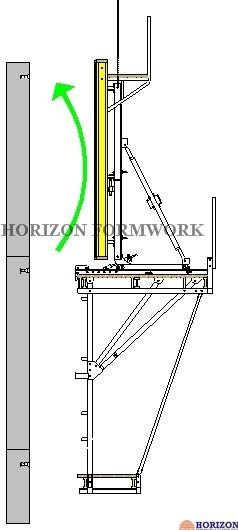
Roll-back system: 70 cm with carriage and rack system
Finishing platform: for removing the climbing cone, polishing concrete surface etc.
Anchor system: should be pre-fixed into the formwork and left in the concrete after pouring.
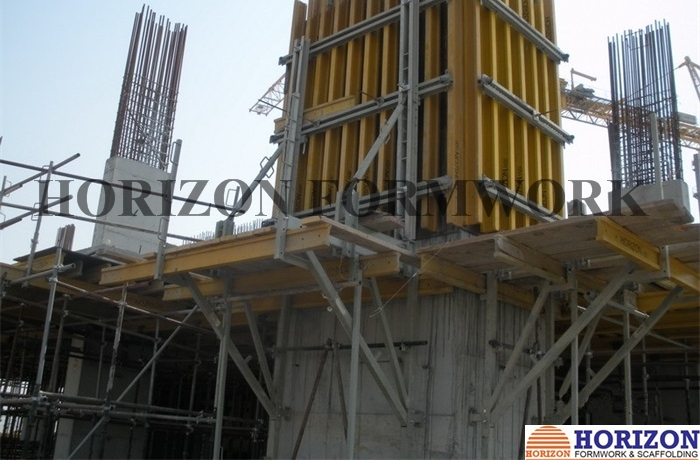
Formwork: can be moved horizontally, vertically and tilted to meet site requirement.
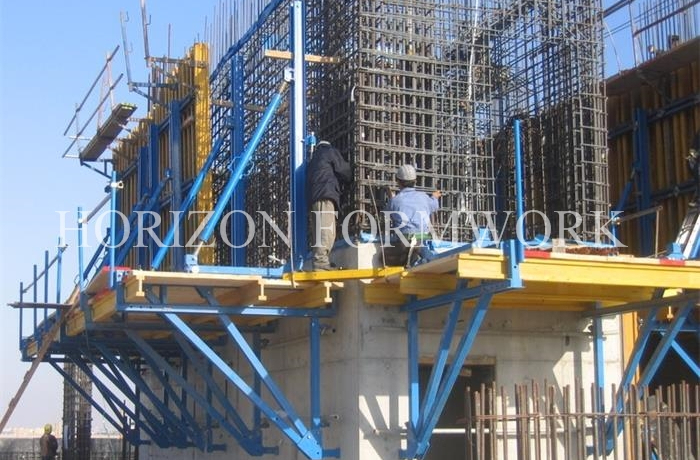
Main platform: provide workers a safe working platform
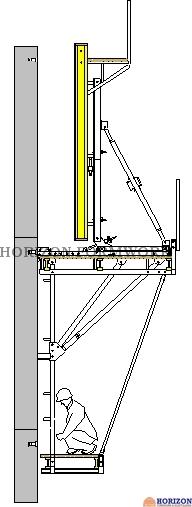
Finishing platform: there is an access to the main platform by using a safety ladder.
Преимущества
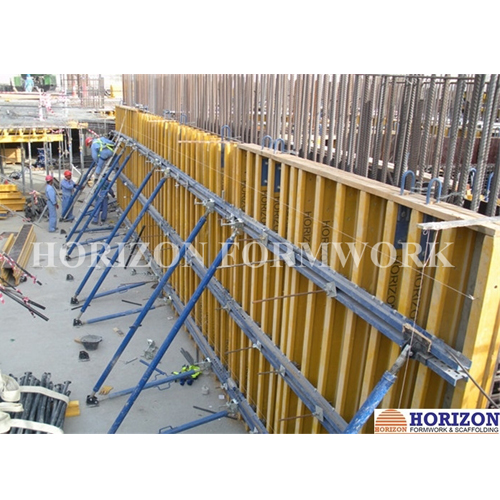
- Совместим со всеми стеновыми опалубками Construccion.
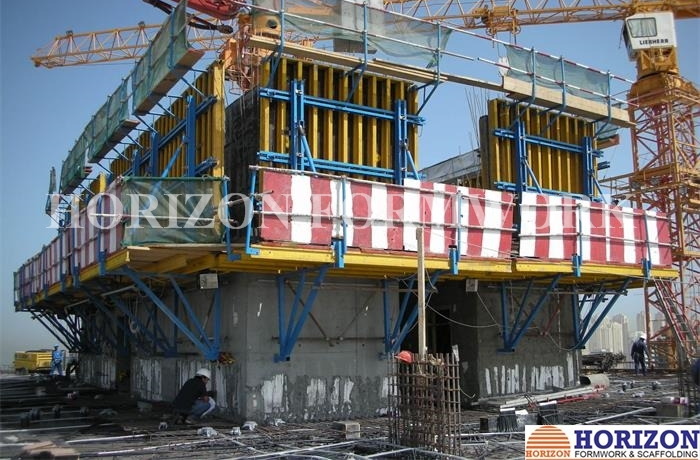
- Комплекты, состоящие из кронштейнов и панелей опалубки, перемещаются на следующий этап заливки одним подъемом крана.
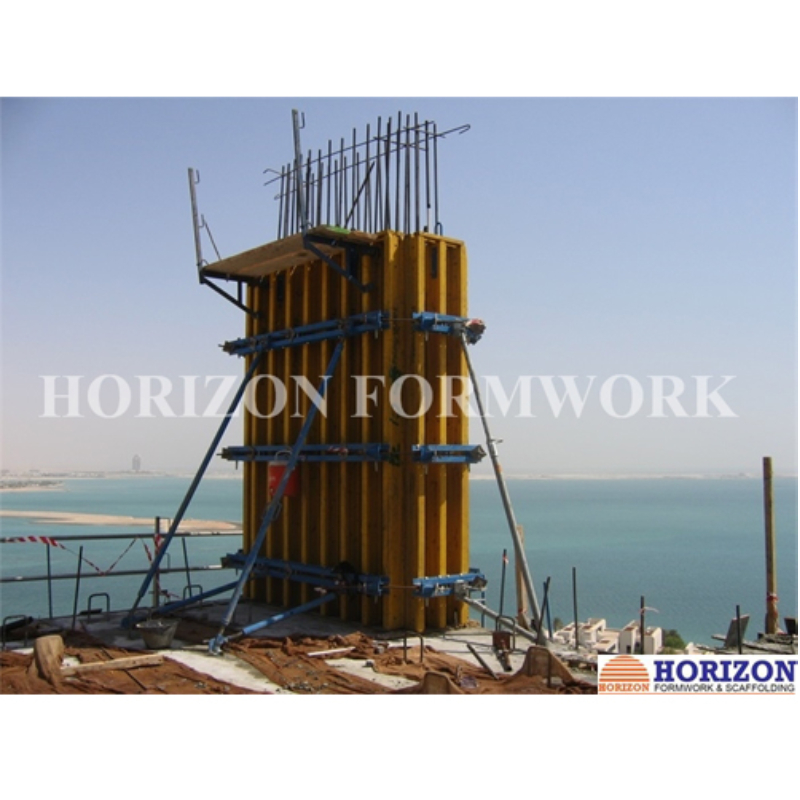
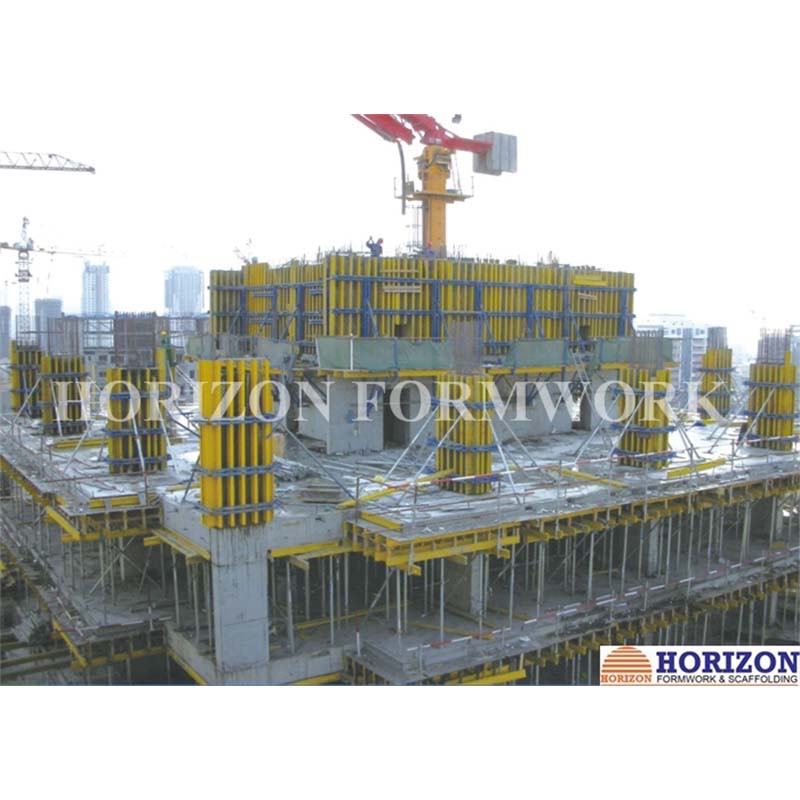
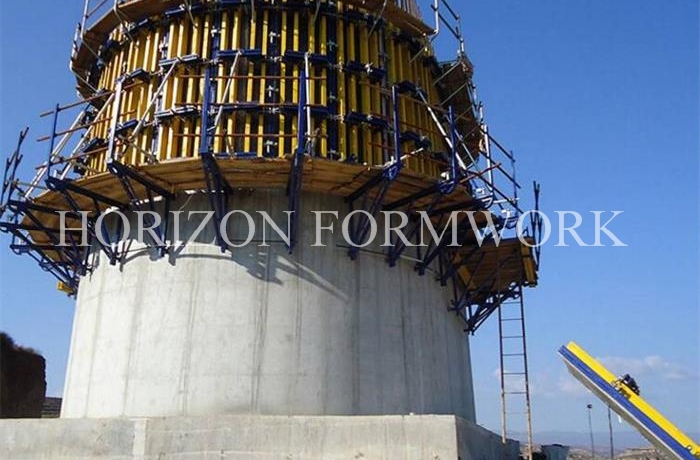
- Адаптируется к любым конструкциям, включая прямые, наклонные и круглые стены.
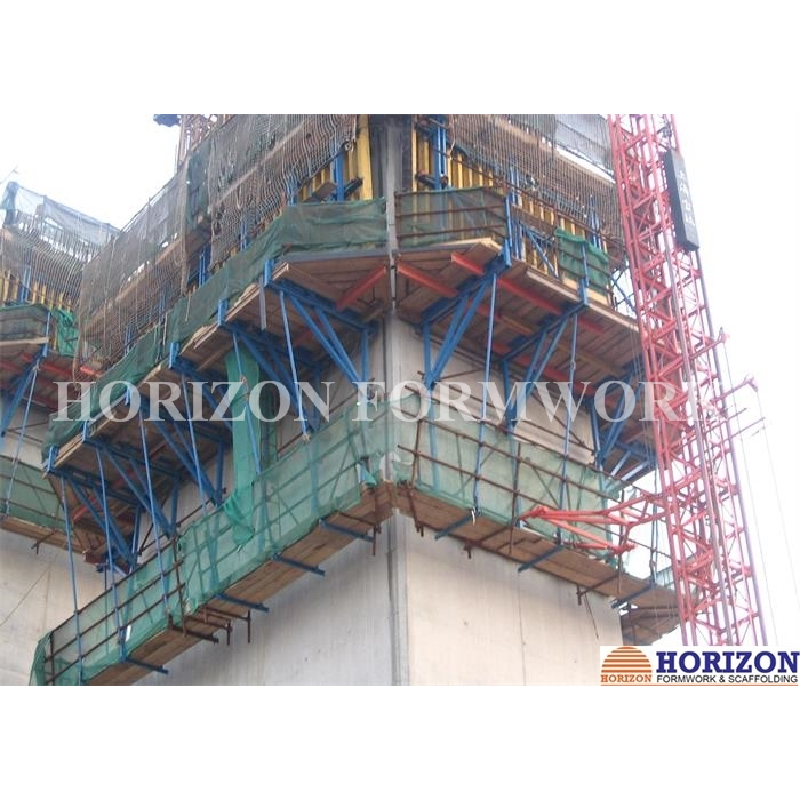
- Возможно сооружение рабочих площадок на разных уровнях. Доступ к платформам обеспечивается безопасными лестницами.
- Все кронштейны включают в себя все разъемы для крепления поручней, подпорок и других аксессуаров.
- Подъемные кронштейны позволяют откатывать щиты опалубки с помощью системы, образованной кареткой и стойкой, заложенной в эти кронштейны.
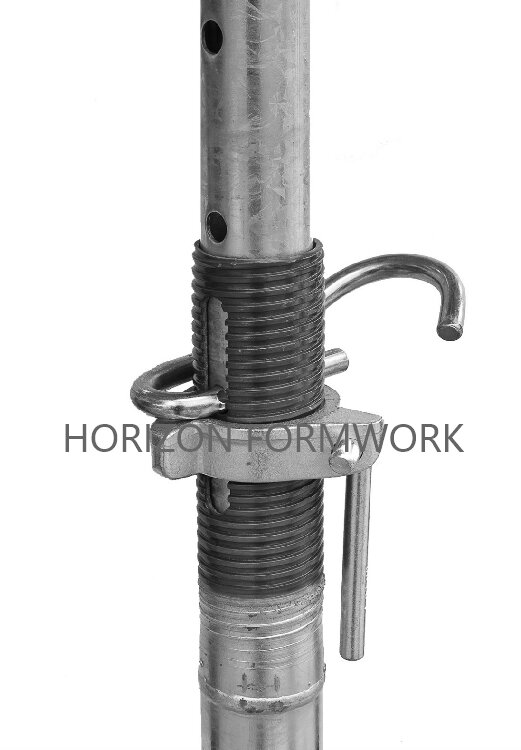
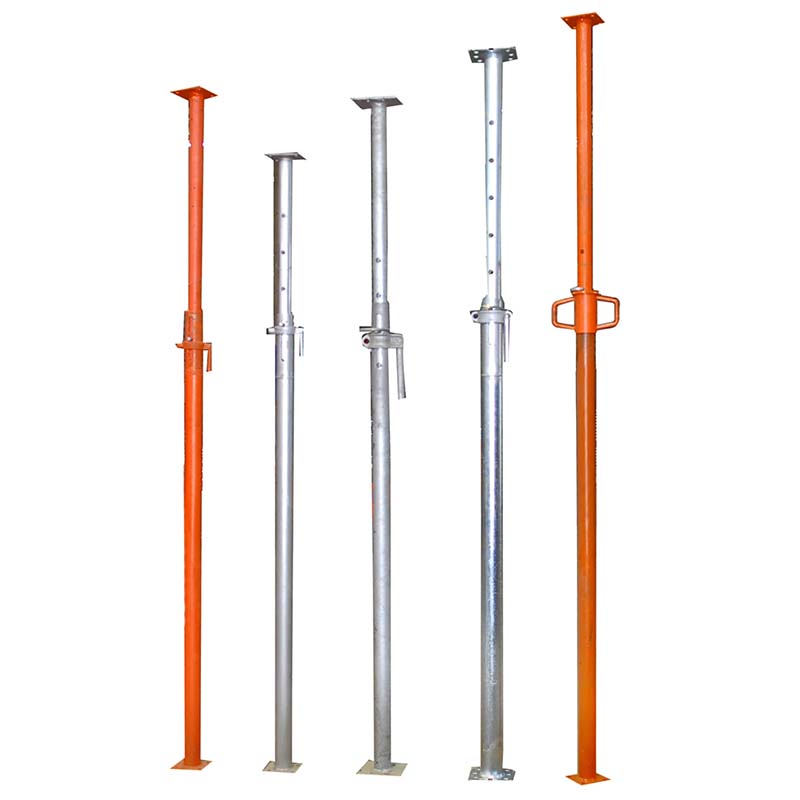
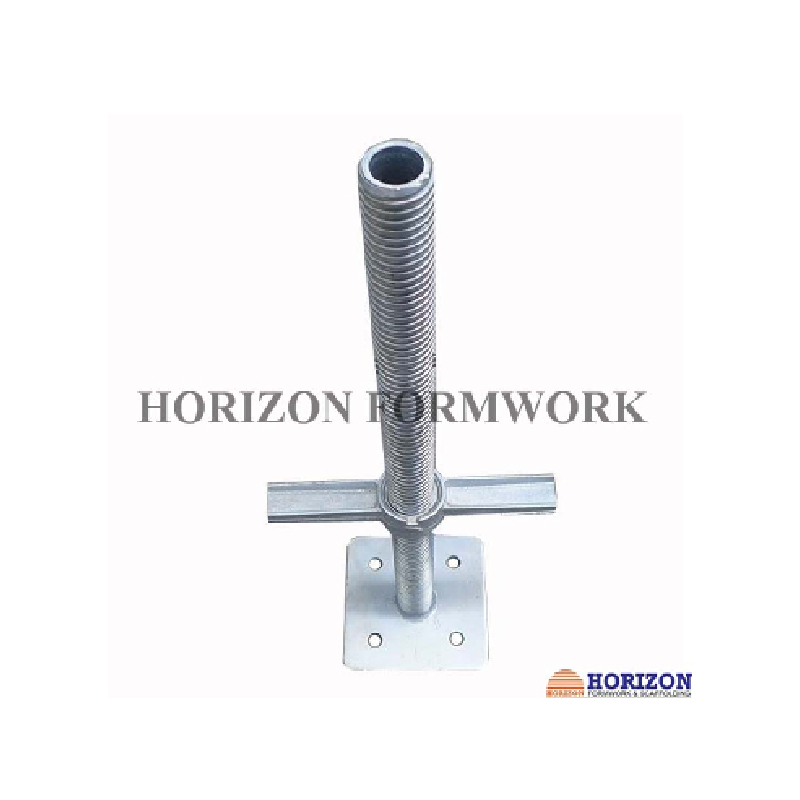
- Formwork’s vertical adjusting and plumbing is completedwithleveling screw jacks and push-pull props.
- Кронштейны крепятся к стене с помощью системы анкерных конусов.
Процедура восхождения
|
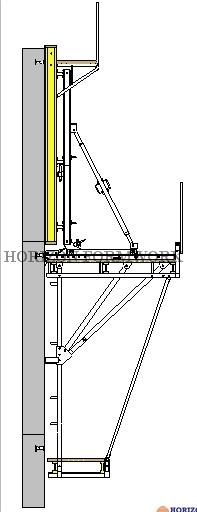
The first pouring is to be completed by using the proper wall elements and has to be exactly совмещено с регулировочными стойками. |
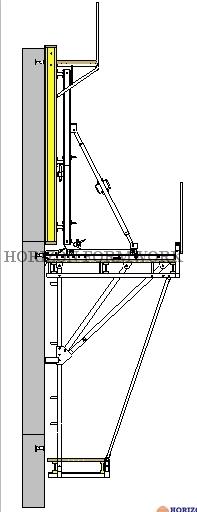
Шаг 2 The completely pre-assembled climbing scaffold units consisting of climbing brackets with plank bottom and bracing have to be attached to the bracket anchoring and secured. Then the formwork and the move-off carriage together with the aligning beam has to be positioned on the brackets and fixed. |
|
Шаг 3 After shifting the climbing scaffold unit to the next pouring position the finishing platform is to be mounted to the brackets to complete the climbing system. |
Шаг 4 Release and remove bolts that fixing the positioning anchor point. Ослабьте и снимите рулевую тягу Loosen the wedges of the carriage unit. |
|
Шаг 5 Retract the carriage and lock it with wedge. Установите верхние подъемные конусы Ослабьте ветрозащитное устройство, если таковое имеется. Снимите нижний подъемный конус
|
Шаг 6 Adjust the carriage into the common center of gravity and lock it again. Прикрепите крановый строп к вертикальному ригелю. Снимите предохранительные болты кронштейна. Lift the climbing bracket by crane and attach it to the next prepared climbing cone. Вставьте и снова зафиксируйте предохранительные болты. При необходимости установите устройство защиты от ветровой нагрузки. |
|
Шаг 7 Move the carriage back and lock it by wedge. Очистите опалубку. Установите арматурные стержни. |
Шаг 8 Move the formwork forward until lower end rests against top of the finished section of the wall Отрегулируйте опалубку по вертикали с помощью раскоса. Крепление анкеров к стеновой опалубке |

 Шаг 1
Шаг 1