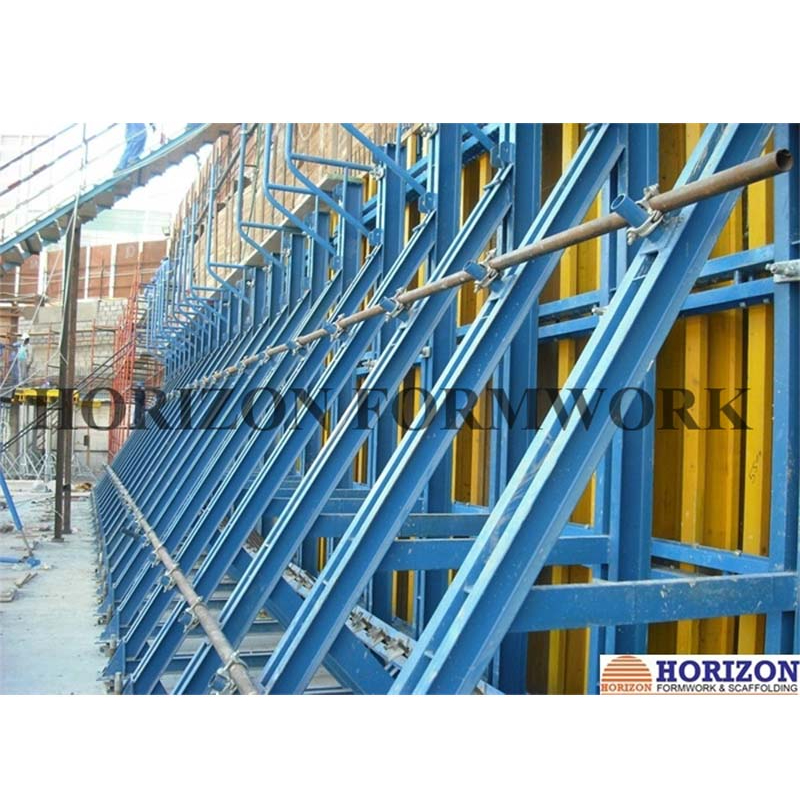
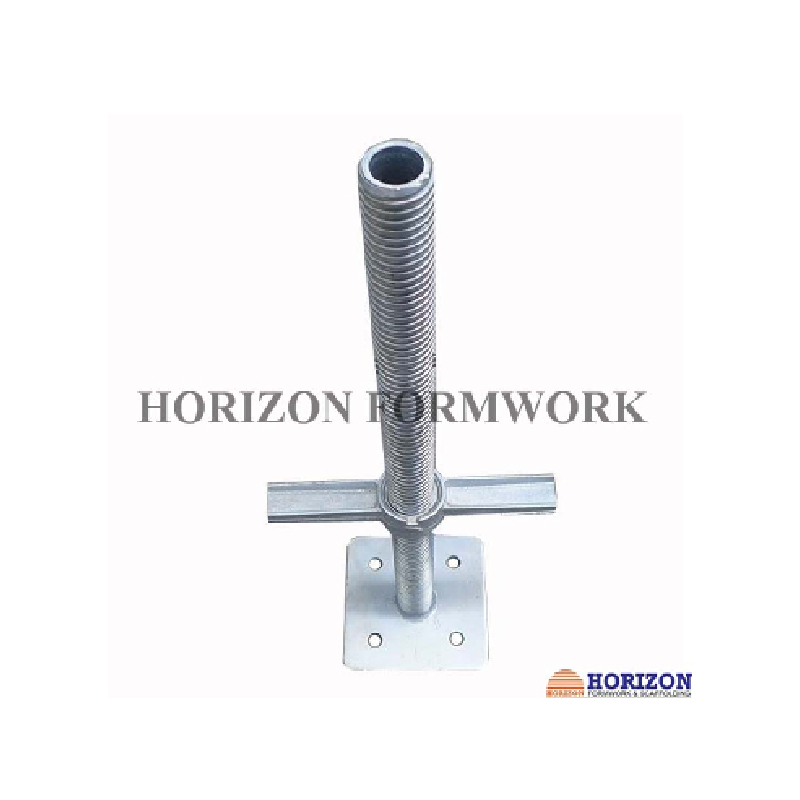
Переставна опалубка CB240
Описи
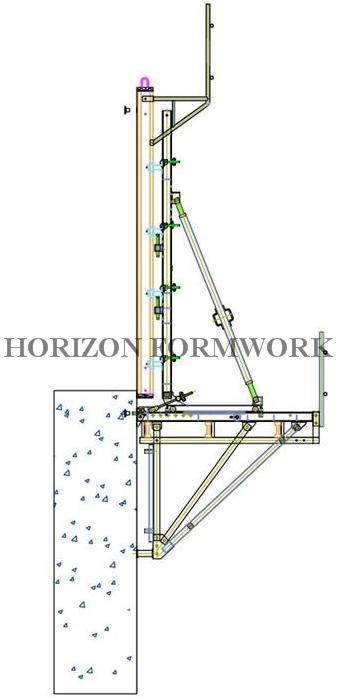
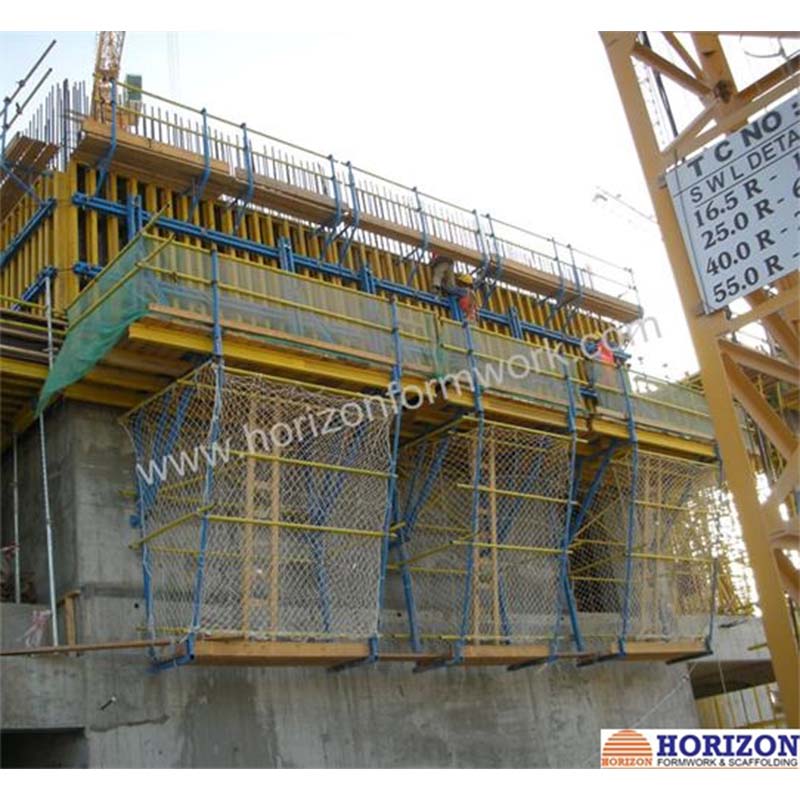
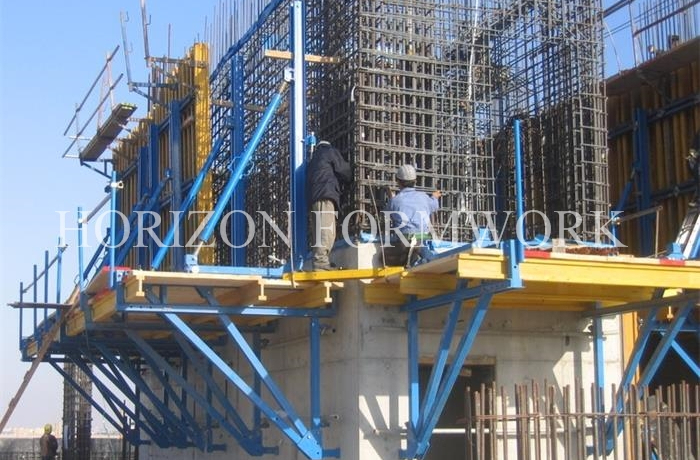
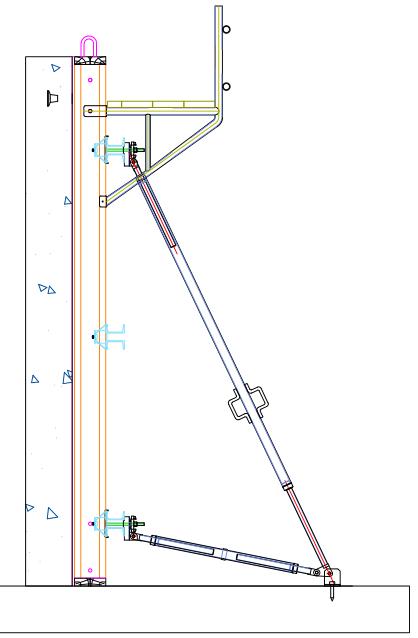
Platform width: 2.4m
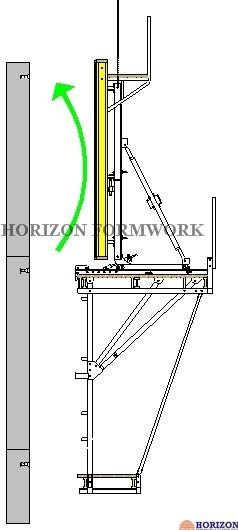
Roll-back system: 70 cm with carriage and rack system
Finishing platform: for removing the climbing cone, polishing concrete surface etc.
Anchor system: should be pre-fixed into the formwork and left in the concrete after pouring.
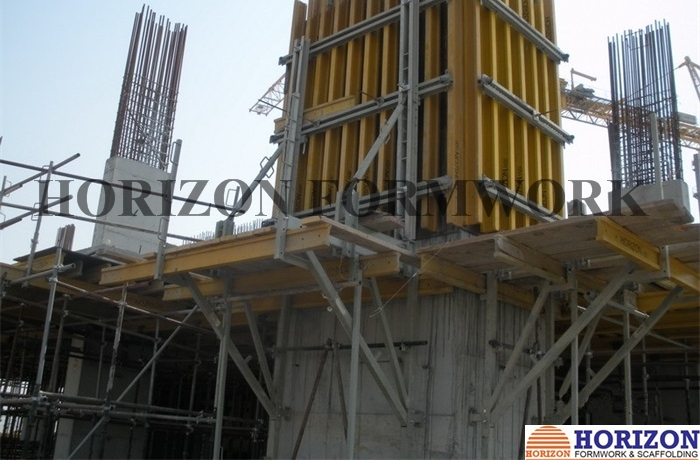
Formwork: can be moved horizontally, vertically and tilted to meet site requirement.
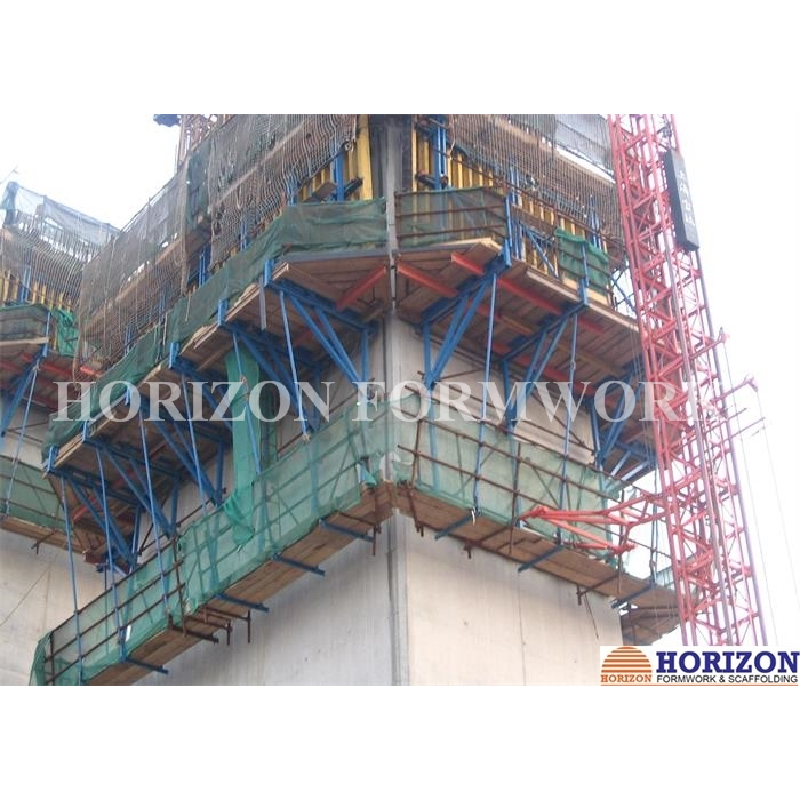
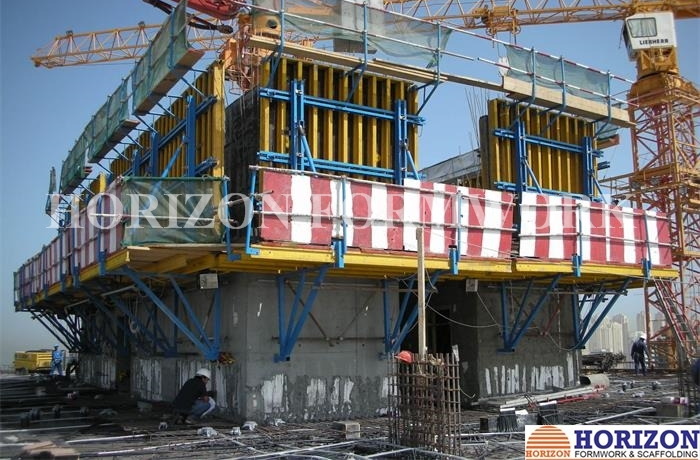
Main platform: provide workers a safe working platform
Finishing platform: there is an access to the main platform by using a safety ladder.
Переваги
- Сумісний з усіма стіновими опалубками Construction.
- Комплекти, що складаються з кронштейнів і панелей опалубки, переміщуються до наступного етапу заливки за допомогою одного підйому крана.
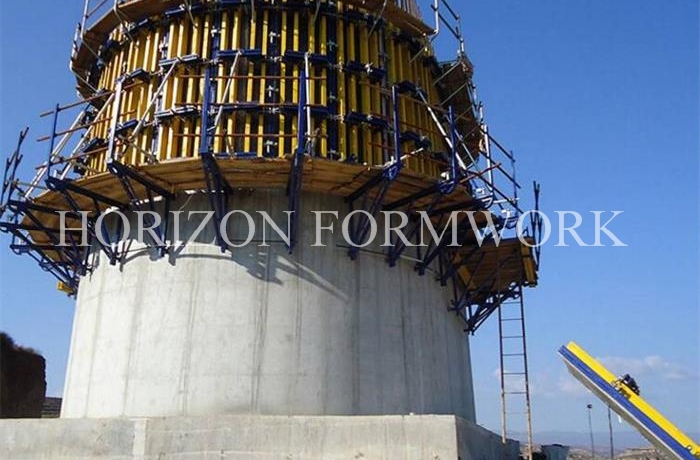
- Адаптується до будь-яких конструкцій, включаючи прямі, похилі та круглі стіни.
- Робочі платформи можна будувати на різних рівнях. Доступ до платформ забезпечується за допомогою безпечних драбин.
- Усі кронштейни включають усі з’єднувачі для фіксації поручнів, опор та інших аксесуарів.
- Підйомні кронштейни дозволяють відкочувати панелі опалубки за допомогою системи, утвореної кареткою та стійкою, вбудованими в ці кронштейни.
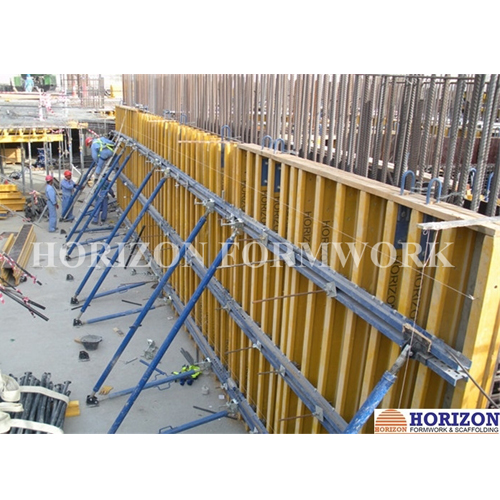
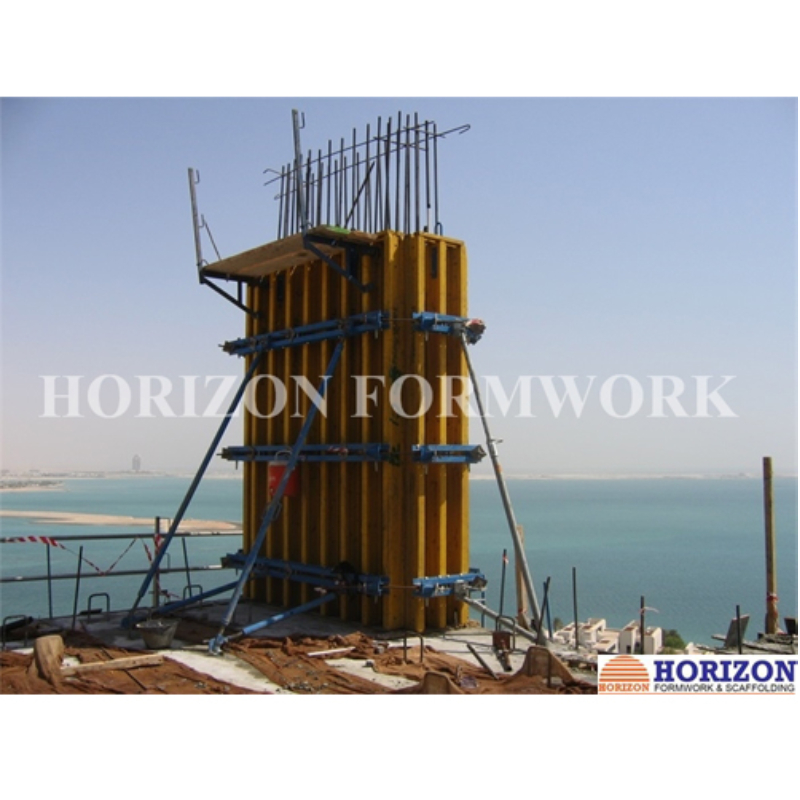
- Formwork’s vertical adjusting and plumbing is completedwithleveling screw jacks and push-pull props.
- Кронштейни кріпляться до стіни за допомогою анкерної конусної системи.
Процедура сходження
|
The first pouring is to be completed by using the proper wall elements and has to be exactly вирівняні регулювальними стійками. |
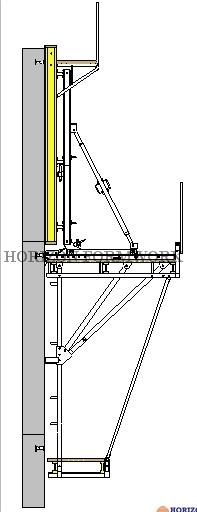
Крок 2 The completely pre-assembled climbing scaffold units consisting of climbing brackets with plank bottom and bracing have to be attached to the bracket anchoring and secured. Then the formwork and the move-off carriage together with the aligning beam has to be positioned on the brackets and fixed. |
|
Крок 3 After shifting the climbing scaffold unit to the next pouring position the finishing platform is to be mounted to the brackets to complete the climbing system. |
Крок 4 Release and remove bolts that fixing the positioning anchor point. Послабте та зніміть тягу Loosen the wedges of the carriage unit. |
|
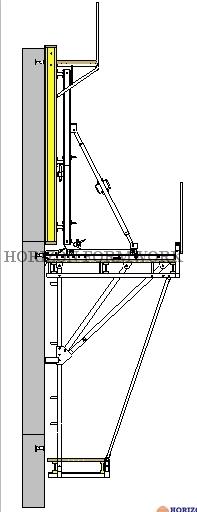
Крок 5 Retract the carriage and lock it with wedge. Встановити верхні конуси для сходження Послабте вітрозахист, якщо такий є Зніміть нижній лазний конус
|
Крок 6 Adjust the carriage into the common center of gravity and lock it again. Прикріпіть строп крана до вертикального брусу Зніміть болти безпеки кронштейна Lift the climbing bracket by crane and attach it to the next prepared climbing cone. Знову вставте та зафіксуйте захисні болти. Встановіть пристрій вітрового навантаження, якщо потрібно. |
|
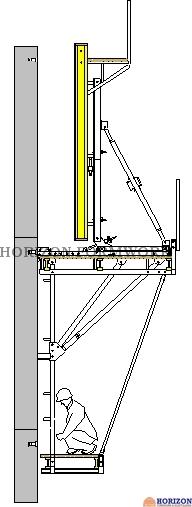
Крок 7 Move the carriage back and lock it by wedge. Очистіть опалубку. Встановити арматуру. |
Крок 8 Move the formwork forward until lower end rests against top of the finished section of the wall Відрегулюйте опалубку по вертикалі за допомогою розтяжки. Закріпити стяжки для стінової опалубки |

 Крок 1