Klimbekisting CB240
Beschrijvingen
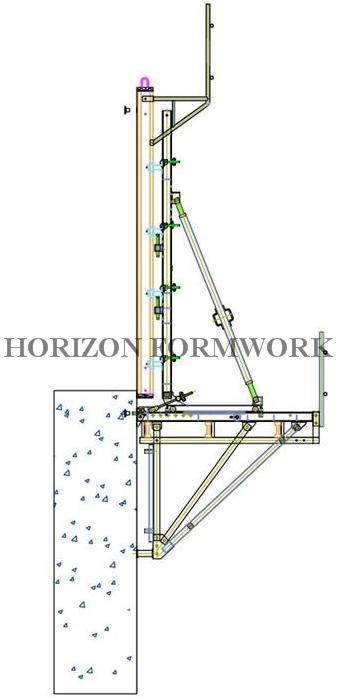
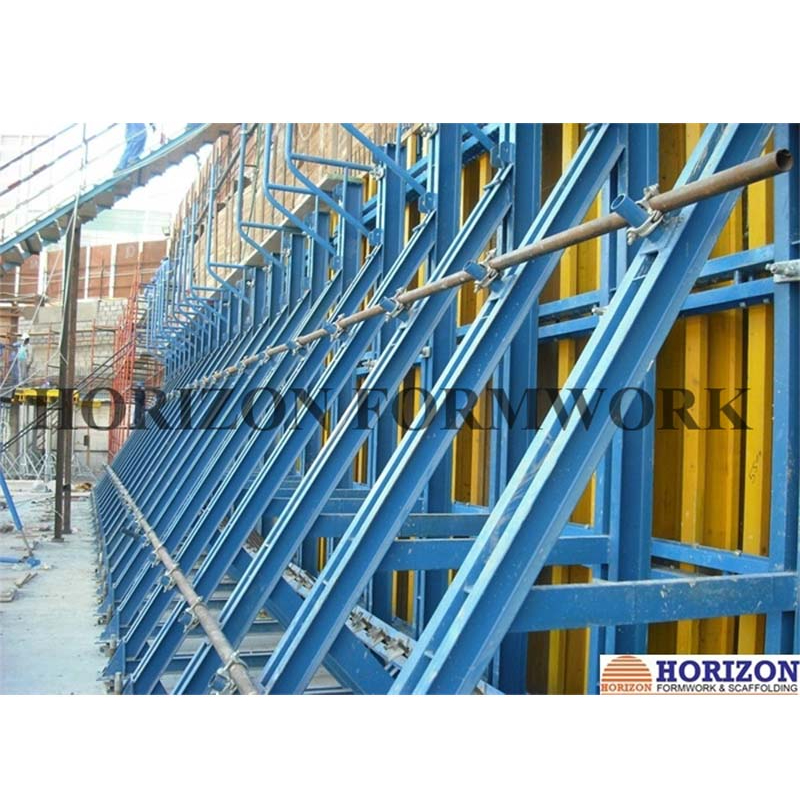
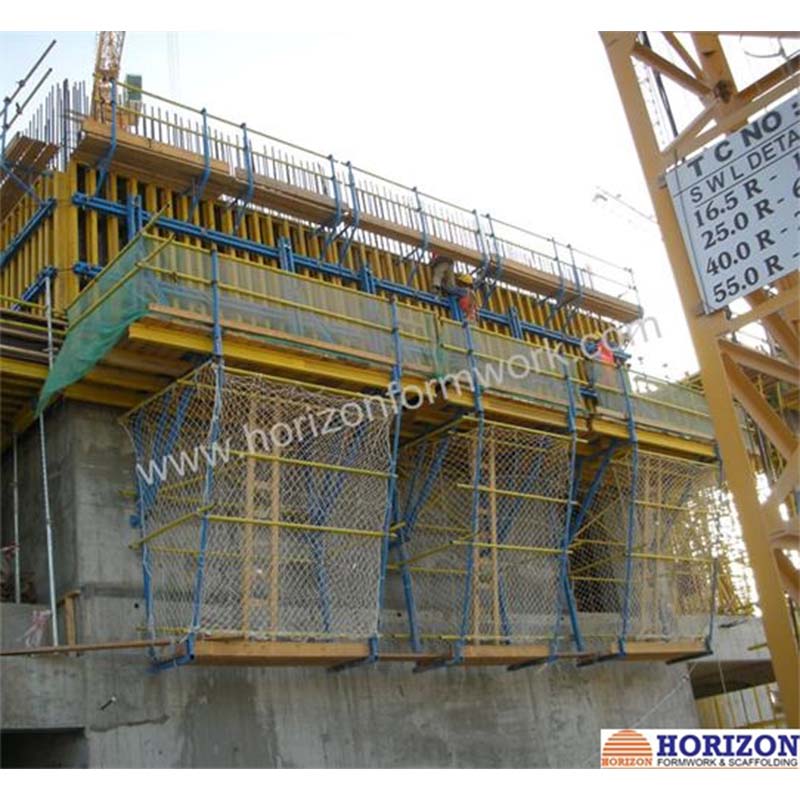
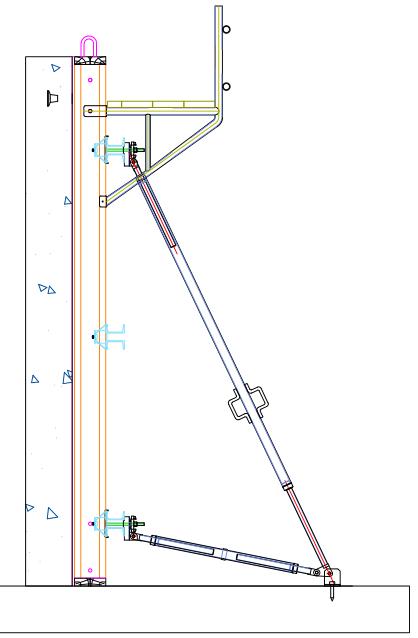
Platform width: 2.4m
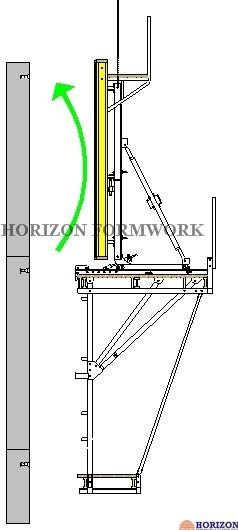
Roll-back system: 70 cm with carriage and rack system
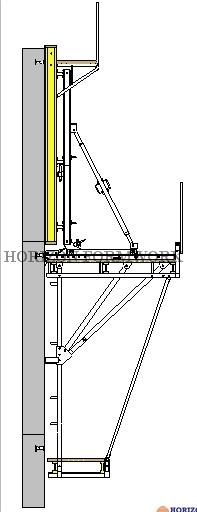
Finishing platform: for removing the climbing cone, polishing concrete surface etc.
Anchor system: should be pre-fixed into the formwork and left in the concrete after pouring.
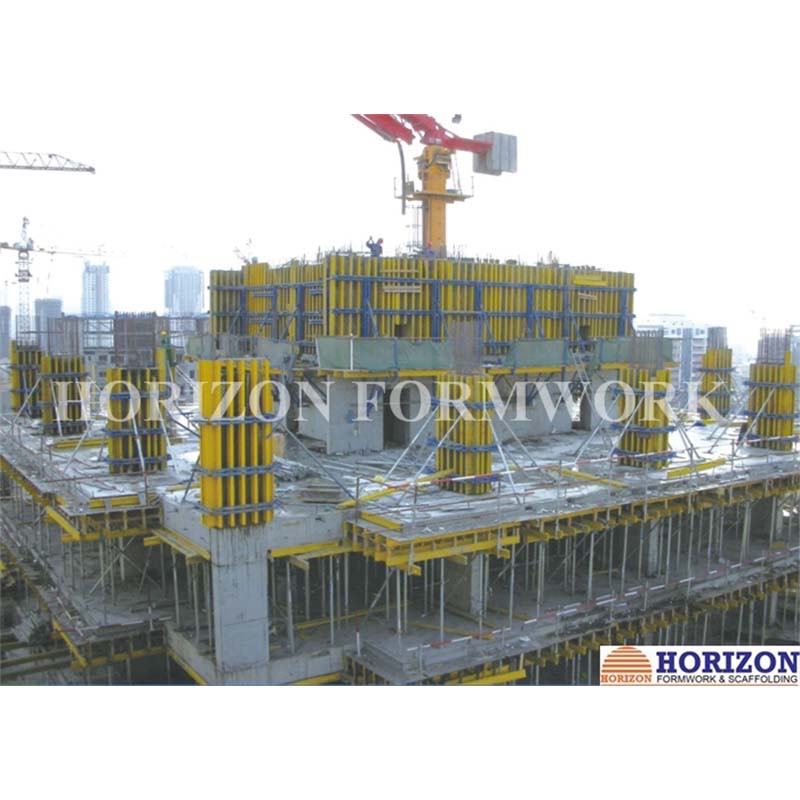
Formwork: can be moved horizontally, vertically and tilted to meet site requirement.
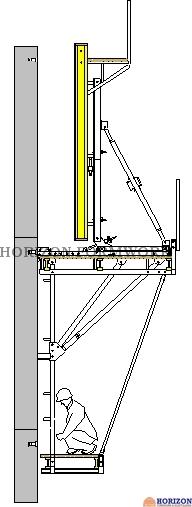
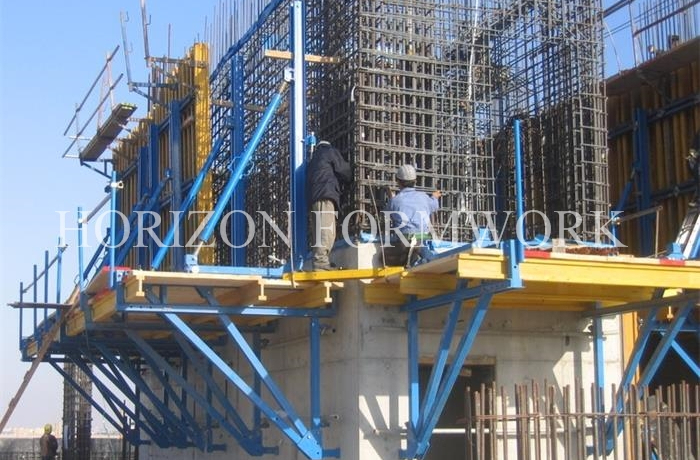
Main platform: provide workers a safe working platform
Finishing platform: there is an access to the main platform by using a safety ladder.
Voordelen
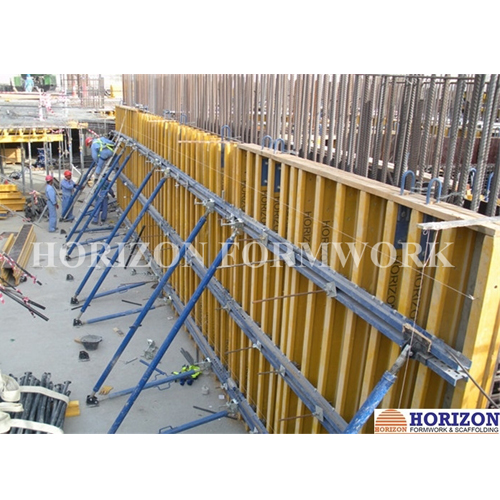
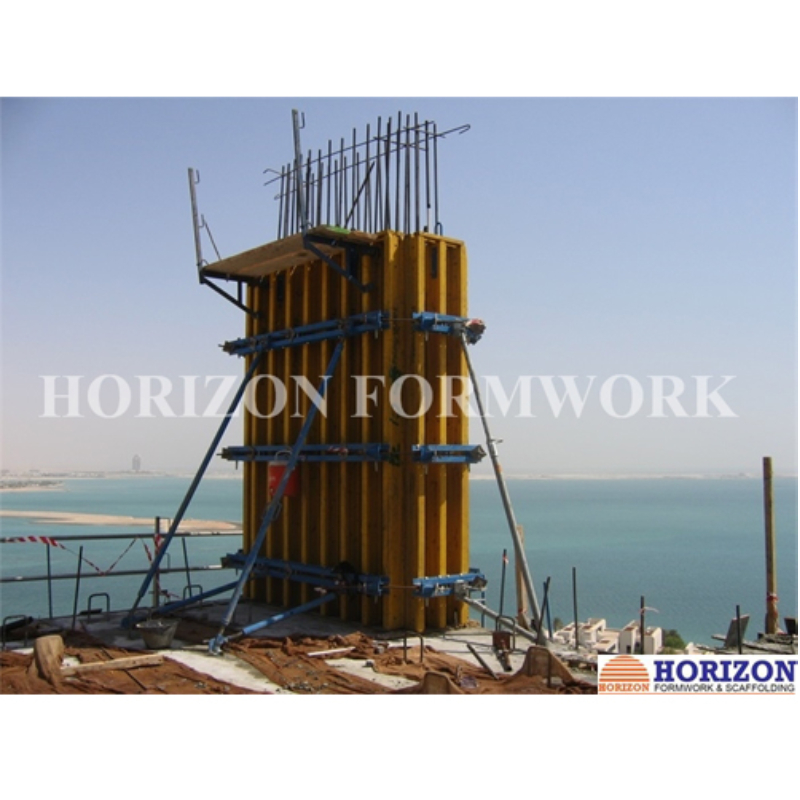
- Compatibel met alle Construccion wandbekistingen.
- Met één kraanlift worden de sets bestaande uit beugels en bekistingspanelen naar de volgende stortstap verplaatst.
- Aanpasbaar aan alle structuren, inclusief rechte, hellende en ronde wanden.
- Het is mogelijk om werkplatformen op verschillende niveaus te bouwen. De toegang tot de platforms wordt verzorgd door veiligheidsladders.
- Alle beugels bevatten alle connectoren om leuningen, push-pullprops en andere accessoires te bevestigen.
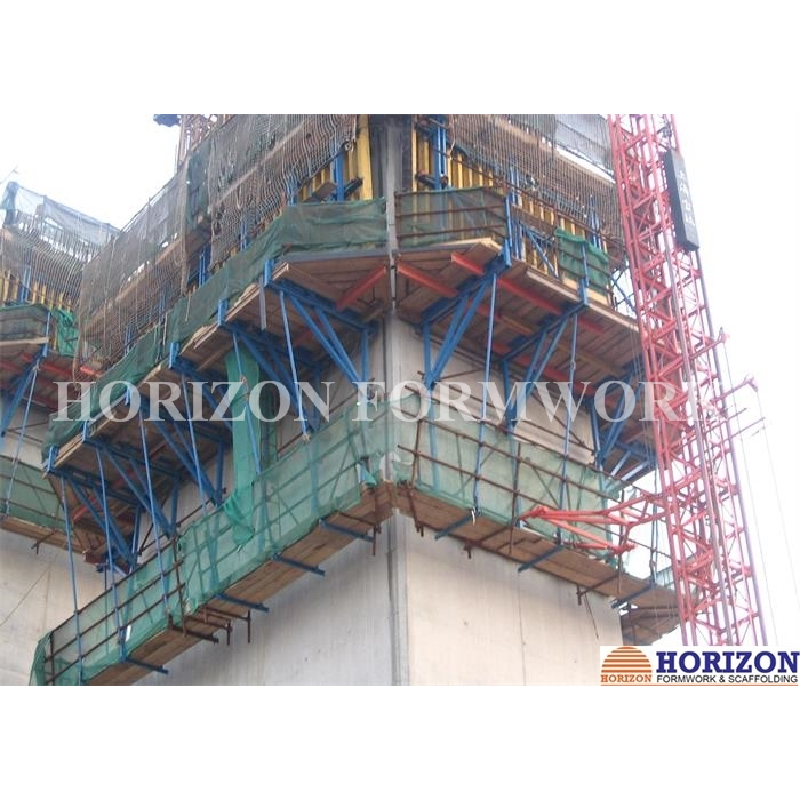
- De klimbeugels maken het terugrollen van de bekistingspanelen mogelijk met behulp van een systeem, gevormd door een slede en een rek, dat in deze beugels is ingebouwd.
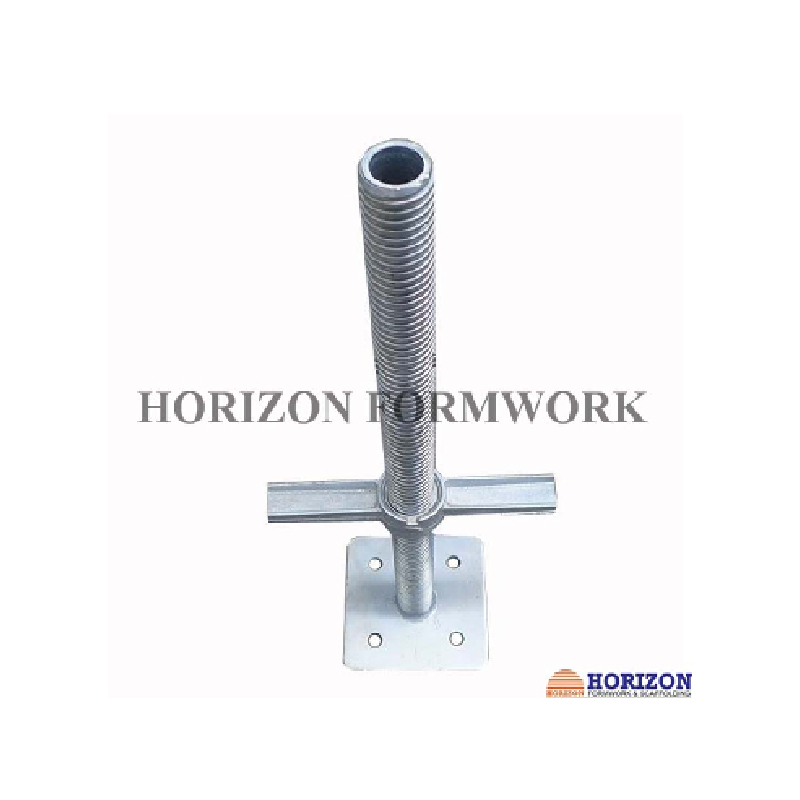
- Formwork’s vertical adjusting and plumbing is completedwithleveling screw jacks and push-pull props.
- Beugels worden aan de muur verankerd met een ankerkegelsysteem.
Klimprocedure
|
The first pouring is to be completed by using the proper wall elements and has to be exactly uitgelijnd met de stelsteunen. |
Stap 2 The completely pre-assembled climbing scaffold units consisting of climbing brackets with plank bottom and bracing have to be attached to the bracket anchoring and secured. Then the formwork and the move-off carriage together with the aligning beam has to be positioned on the brackets and fixed. |
|
Stap 3 After shifting the climbing scaffold unit to the next pouring position the finishing platform is to be mounted to the brackets to complete the climbing system. |
Stap 4 Release and remove bolts that fixing the positioning anchor point. Maak de trekstang los en verwijder deze Loosen the wedges of the carriage unit. |
|
Stap 5 Retract the carriage and lock it with wedge. Installeer de bovenste klimkegels Maak de windbeveiliging los, indien aanwezig Verwijder de onderste klimkegel
|
Stap 6 Adjust the carriage into the common center of gravity and lock it again. Bevestig de hijsband aan de verticale gording Verwijder de veiligheidsbouten van de beugel Lift the climbing bracket by crane and attach it to the next prepared climbing cone. Plaats de veiligheidsbouten opnieuw en vergrendel ze. Installeer indien nodig het windbelastingsapparaat. |
|
Stap 7 Move the carriage back and lock it by wedge. Maak de bekisting schoon. Installeer wapeningsstaven. |
Stap 8 Move the formwork forward until lower end rests against top of the finished section of the wall Verstel de bekisting verticaal door middel van een trek-trekschoor. Bevestig trekstangen voor de muurbekisting |

 Stap 1