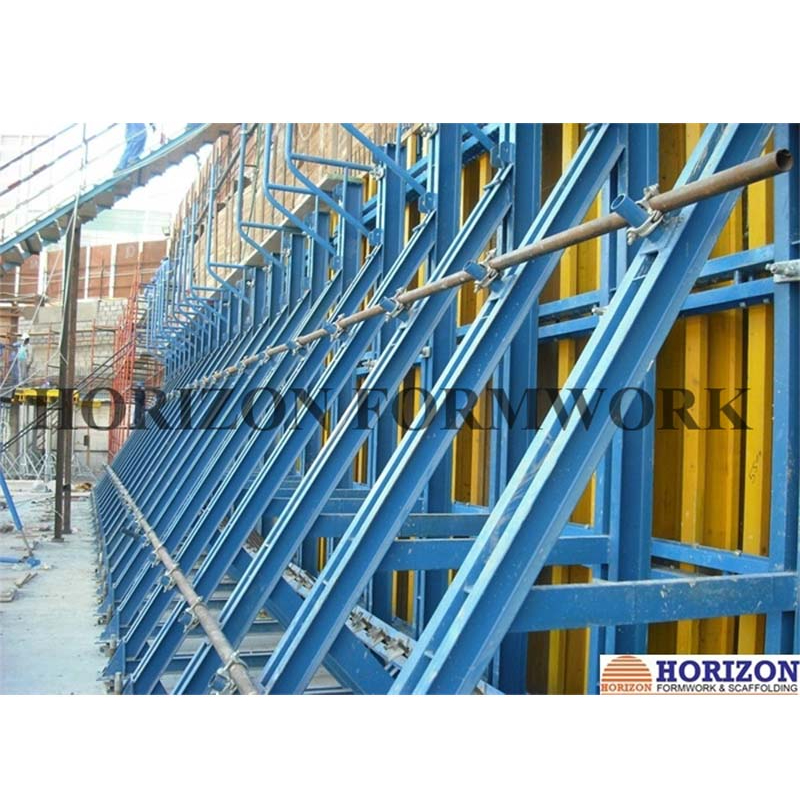
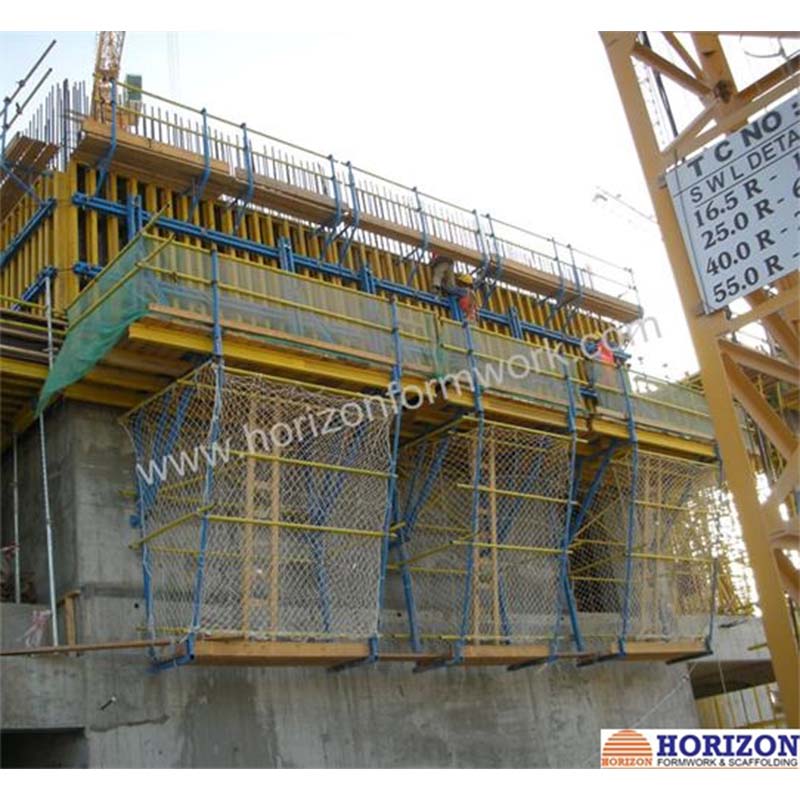
แบบหล่อปีนเขา CB240
คำอธิบาย
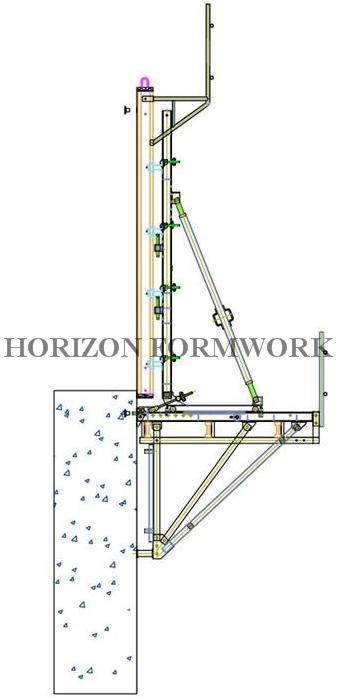
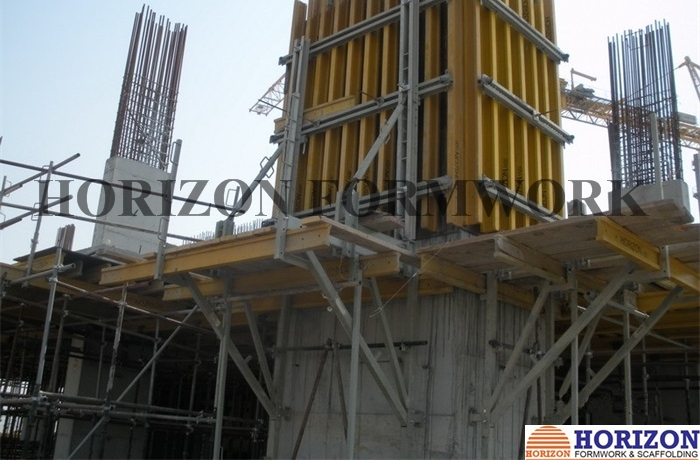
Platform width: 2.4m
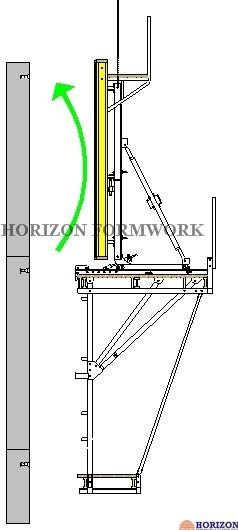
Roll-back system: 70 cm with carriage and rack system
Finishing platform: for removing the climbing cone, polishing concrete surface etc.
Anchor system: should be pre-fixed into the formwork and left in the concrete after pouring.
Formwork: can be moved horizontally, vertically and tilted to meet site requirement.
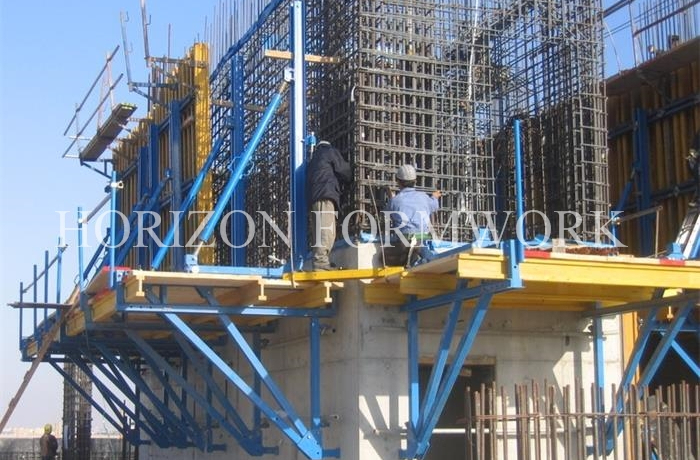
Main platform: provide workers a safe working platform
Finishing platform: there is an access to the main platform by using a safety ladder.
ข้อดี
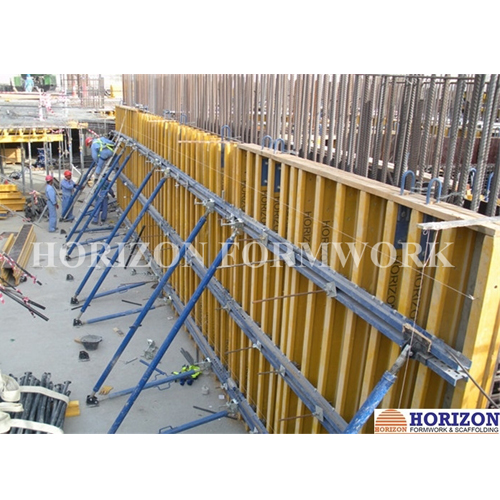
- เข้ากันได้กับแบบหล่อผนัง Construccion ทั้งหมด
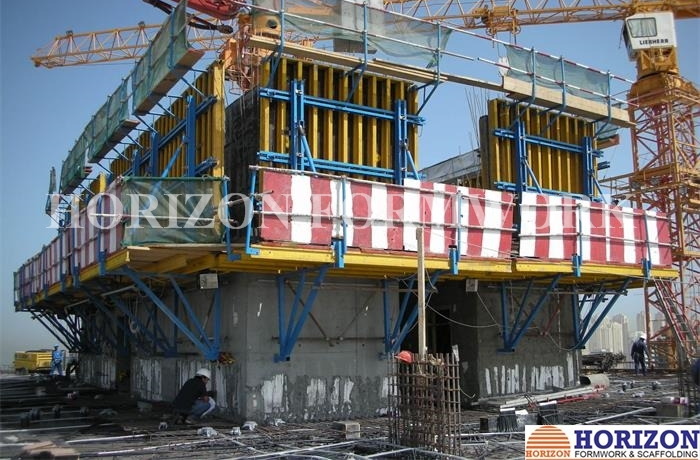
- ชุดที่ประกอบด้วยวงเล็บและแผงแบบหล่อจะถูกย้ายไปยังขั้นตอนการเทถัดไปโดยใช้ลิฟต์เครนเดี่ยว
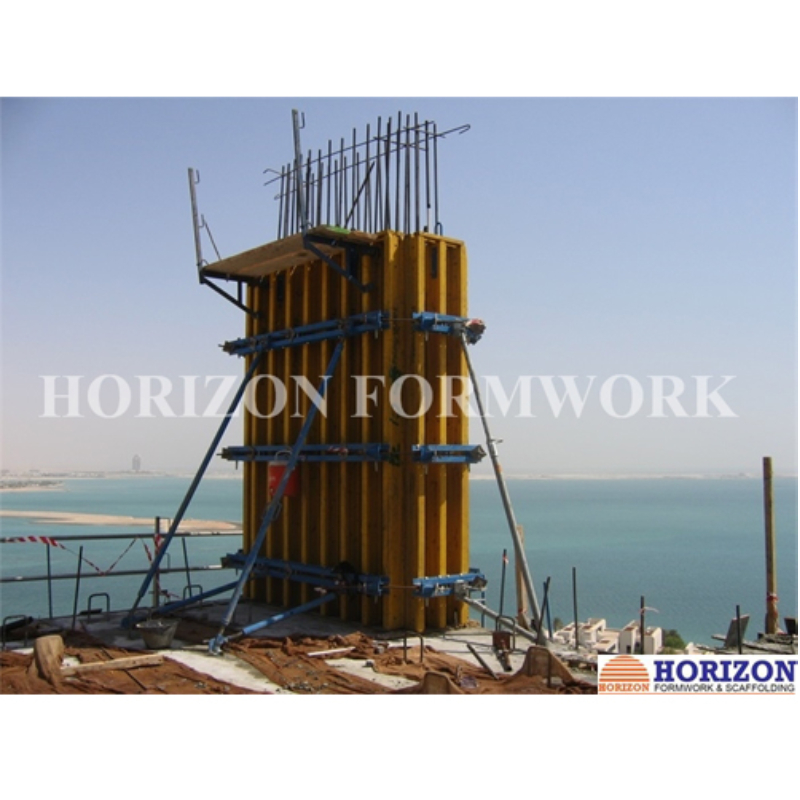
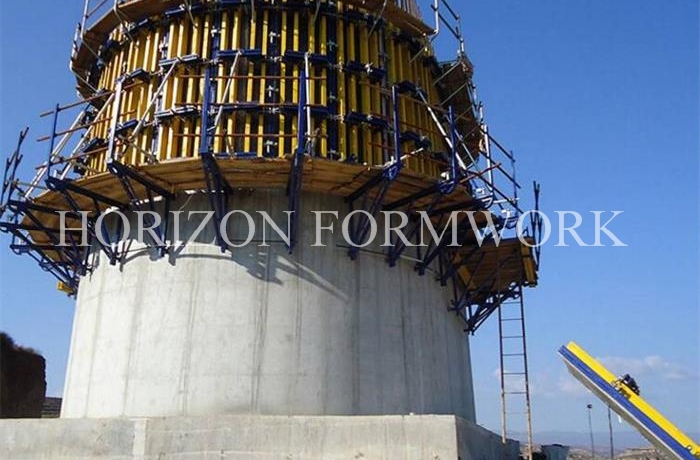
- ปรับให้เข้ากับโครงสร้างใดๆ รวมทั้งผนังตรง เอียง และผนังวงกลม
- เป็นไปได้ที่จะสร้างแพลตฟอร์มการทำงานในระดับต่างๆ การเข้าถึงแพลตฟอร์มนั้นมาจากบันไดนิรภัย
- ตัวยึดทั้งหมดประกอบด้วยตัวเชื่อมต่อทั้งหมดสำหรับยึดราวจับ อุปกรณ์พยุงแบบผลัก และอุปกรณ์เสริมอื่นๆ
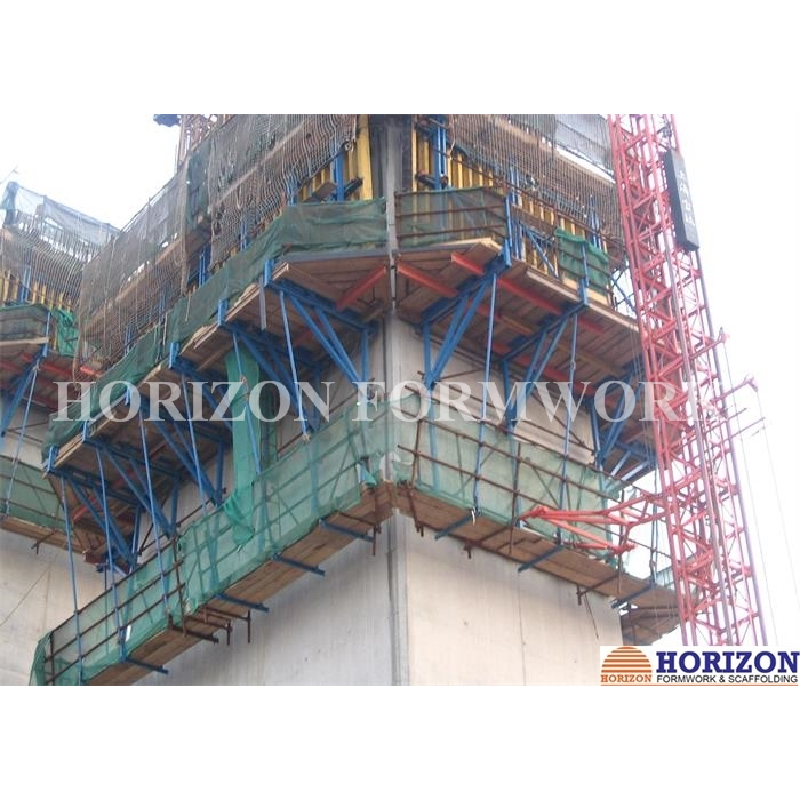
- วงเล็บสำหรับปีนเขาช่วยให้สามารถหมุนแผงแบบหล่อกลับได้โดยใช้ระบบที่ประกอบขึ้นจากแคร่และชั้นวางซึ่งรวมอยู่ในวงเล็บเหล่านี้
- Formwork’s vertical adjusting and plumbing is completedwithleveling screw jacks and push-pull props.
- ฉากยึดยึดติดกับผนังด้วยระบบกรวยพุก
ขั้นตอนการปีนเขา
|
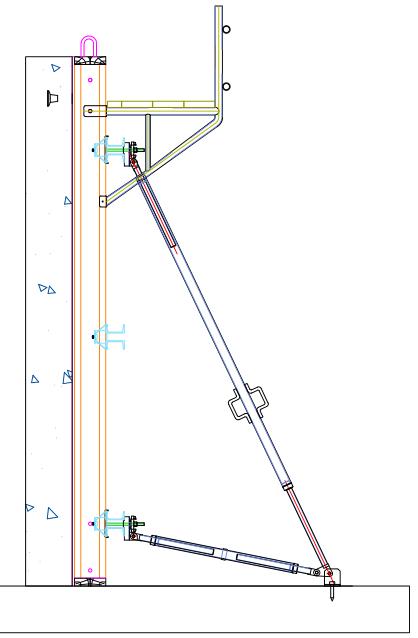
The first pouring is to be completed by using the proper wall elements and has to be exactly สอดคล้องกับการปรับสตรัท |
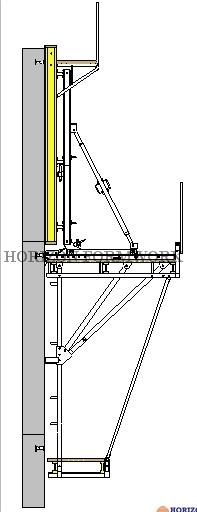
ขั้นตอนที่ 2 The completely pre-assembled climbing scaffold units consisting of climbing brackets with plank bottom and bracing have to be attached to the bracket anchoring and secured. Then the formwork and the move-off carriage together with the aligning beam has to be positioned on the brackets and fixed. |
|
ขั้นตอนที่ 3 After shifting the climbing scaffold unit to the next pouring position the finishing platform is to be mounted to the brackets to complete the climbing system. |
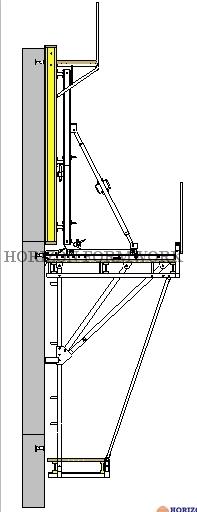
ขั้นตอนที่ 4 Release and remove bolts that fixing the positioning anchor point. คลายและถอดก้านผูกออก Loosen the wedges of the carriage unit. |
|
ขั้นตอนที่ 5 Retract the carriage and lock it with wedge. ติดตั้งกรวยปีนเขาด้านบน คลายอุปกรณ์ยึดลม ถ้ามี ถอดกรวยปีนด้านล่างออก
|
ขั้นตอนที่ 6 Adjust the carriage into the common center of gravity and lock it again. ติดสลิงเครนเข้ากับรางแนวตั้ง ถอดสลักเกลียวรักษาความปลอดภัยของโครงยึดออก Lift the climbing bracket by crane and attach it to the next prepared climbing cone. ใส่และล็อคสลักเกลียวนิรภัยอีกครั้ง ติดตั้งอุปกรณ์รับแรงลม หากจำเป็น |
|
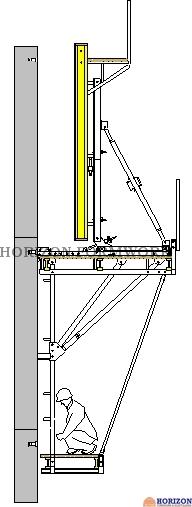
ขั้นตอนที่ 7 Move the carriage back and lock it by wedge. ทำความสะอาดแบบหล่อ ติดตั้งแถบเสริมแรง |
ขั้นตอนที่ 8 Move the formwork forward until lower end rests against top of the finished section of the wall ปรับแบบหล่อในแนวตั้งโดยใช้เหล็กค้ำยันแบบกด-ดึง แก้ไขราวยึดสำหรับแบบหล่อผนัง |

 ขั้นตอนที่ 1